Syventävä: Infrapunalähetin

Johdanto

Infrapunasäteily on valoa, jota ihminen ei näe. Esimerkiksi Maker kitissäsi oleva etäisyyssensori toimii lähettämällä ja vastaanottamalla infrapunasäteilyä. Mitä vahvemman heijastuvan infrapunasignaalin anturi ottaa vastaan, sitä lähempänä kohde on.

Infrapunasignaaleja lähettävät myös monet kaukosäätimet. Tässä harjoituksessa pääset kokeilemaan, saatko käynnistettyä Arduinon toimintoja luokasta löytyvällä kaukosäätimellä!

Alla olevassa videossa näytetään, miten kaikenlaisia sähkölaitteita voi käynnistää kaukosäätimestä tulevan infrapunavalon avulla, kun ne on ensin kytketty Arduinoon.

Dejan Nedelkovski: Control any Electronics with a TV Remote | Arduino IR Tutorial

Tekstitykset

hello Daniel Kottke here from how to mechatronics comm in this tutorial we will learn how to control electronic devices using a TV remote and an Arduino we will make few examples starting from controlling a simple LED then controlling a DC fan speed and controlling high voltage home appliances but first let's explain how it works we can notice that the LED in front of the TV remote flickers when we press a button actually we can only see this through a camera because this is an infrared light and it is not visible to the human eye so the flickering means that when we press a button the infra red LED is sending a burst of light or pulses that we need to receive them with an infrared receiver in this tutorial we will use the V 34 a t-38 IR receiver which has the following block diagram from where we can see that it will amplify filter and then modulate the received signal and provide clean logic output which is acceptable for the digital input of the Arduino board then using the cashiers Arduino IR remote library and it's demo example we can see from the serial monitor a unique hexadecimal code for each button press which we can use it when making our program ok now let's start with the first example controlling an RGB LED so we will control the LED color using the four colored buttons of the TV remote this means that first we need to see the hexadecimal codes for each of these buttons by uploading the IR ref demo example and run the serial monitor we will press each of these buttons and write down their codes now we will modify the demo code like this and add if statements which will be executed if a particular button is pressed so for each button we will set appropriate RGB values and set color function will light up the LED in the particular color for more details how our RGB LED works with arduino visit my arduino RGB tutorial here is the circuit schematic of this example and the source code can be found on my website here's the demonstration the LED lights up with the same color as the pressed button the next example will be controlling a DC fan speed using the forward and backward buttons of the TV remote we will use this circuit schematic for controlling the speed of the fan or actually we will control the PWM signal using the buttons for more details how these circuit schematic works you can check my Arduino motors tutorial here is a quick overview of the source code for this example so using the analog write function we will send PWM signal to the base of the transistor the play button will start the motor at maximum speed or the duty cycle of the PWM signal will be a hundred percent and the stop button will stop it the forward button will increase the speed of the fan with each pressing by increasing the duty cycle of the PWM signal and the backward button will decrease it here's the demonstration of this example the play button starts the motor the backward button decreases the speed of the fan then the forward button increases the speed and the stop button stops the motor the final example will be controlling high-voltage home appliances using the TV remote for that we will need a relay module I will use the HL 52 s relay module which has a rating of 10 amps at 250 and 125 volts ac as we will use high voltage we must be very cautious and I am warning you here that improper or incorrect use could result in serious injuries or death and I don't take any responsibility for your actions for more details how to use the relay and how to make a socket for plugging any electronic device you can check my arduino relay module tutorial here is the circuit schematic for this tutorial with the pin number 7 from the arduino board we will control the relay on which there is a socket for connecting any high voltage electronic device here is the demonstration of this example so using the TV remote we can control any high voltage home appliances thanks for watching and for more tutorials visit my official website how to mechatronics calm
Tarvikkeet

Mehackit boardin (tai Arduinon), USB-johdon, koekytkentälevyn ja johtimien lisäksi tarvitset seuraavat komponentit.

OsaKuvaKuvaus
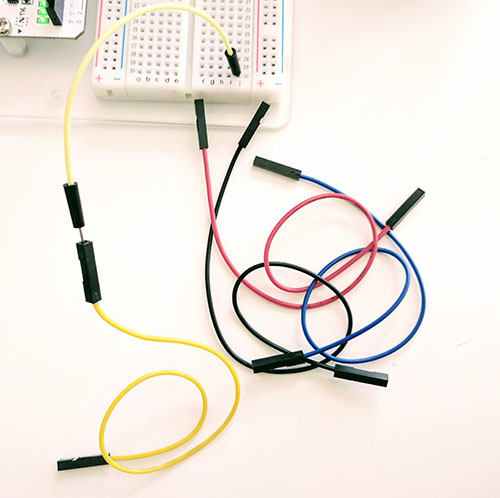
Jatkojohto x 2
InfrapunalähetinInfrapunasäteilyä lähettävä led.
Vastus 10 kΩVastus vastustaa sähkövirran kulkua. Vastuksen arvo mitataan ohmeissa (Ω) ja ilmoitetaan komponentissa eri värisinä raitoina (tässä ruskea, musta, punainen ja kulta).
InfrapunavastaanotinInfrapunasäteilyn vastaanotin (phototransistor)
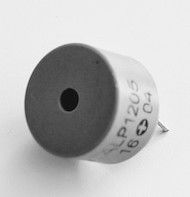
Piezo-kaiutinElektroninen komponentti, jota voi käyttää värähtelyn havaitsemiseen sekä äänten tuottamiseen.
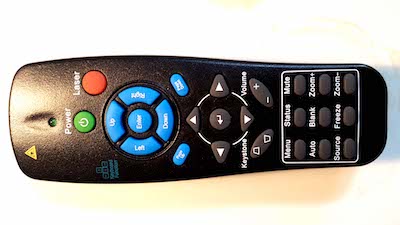
KaukosäädinUseimmat kaukosäätimet lähettävät infrapunapulsseista koostuvia sarjoja, jotka vastaanotin (esim. televisio) osaa tulkita ja toimia niiden mukaan.

Virtapiiri

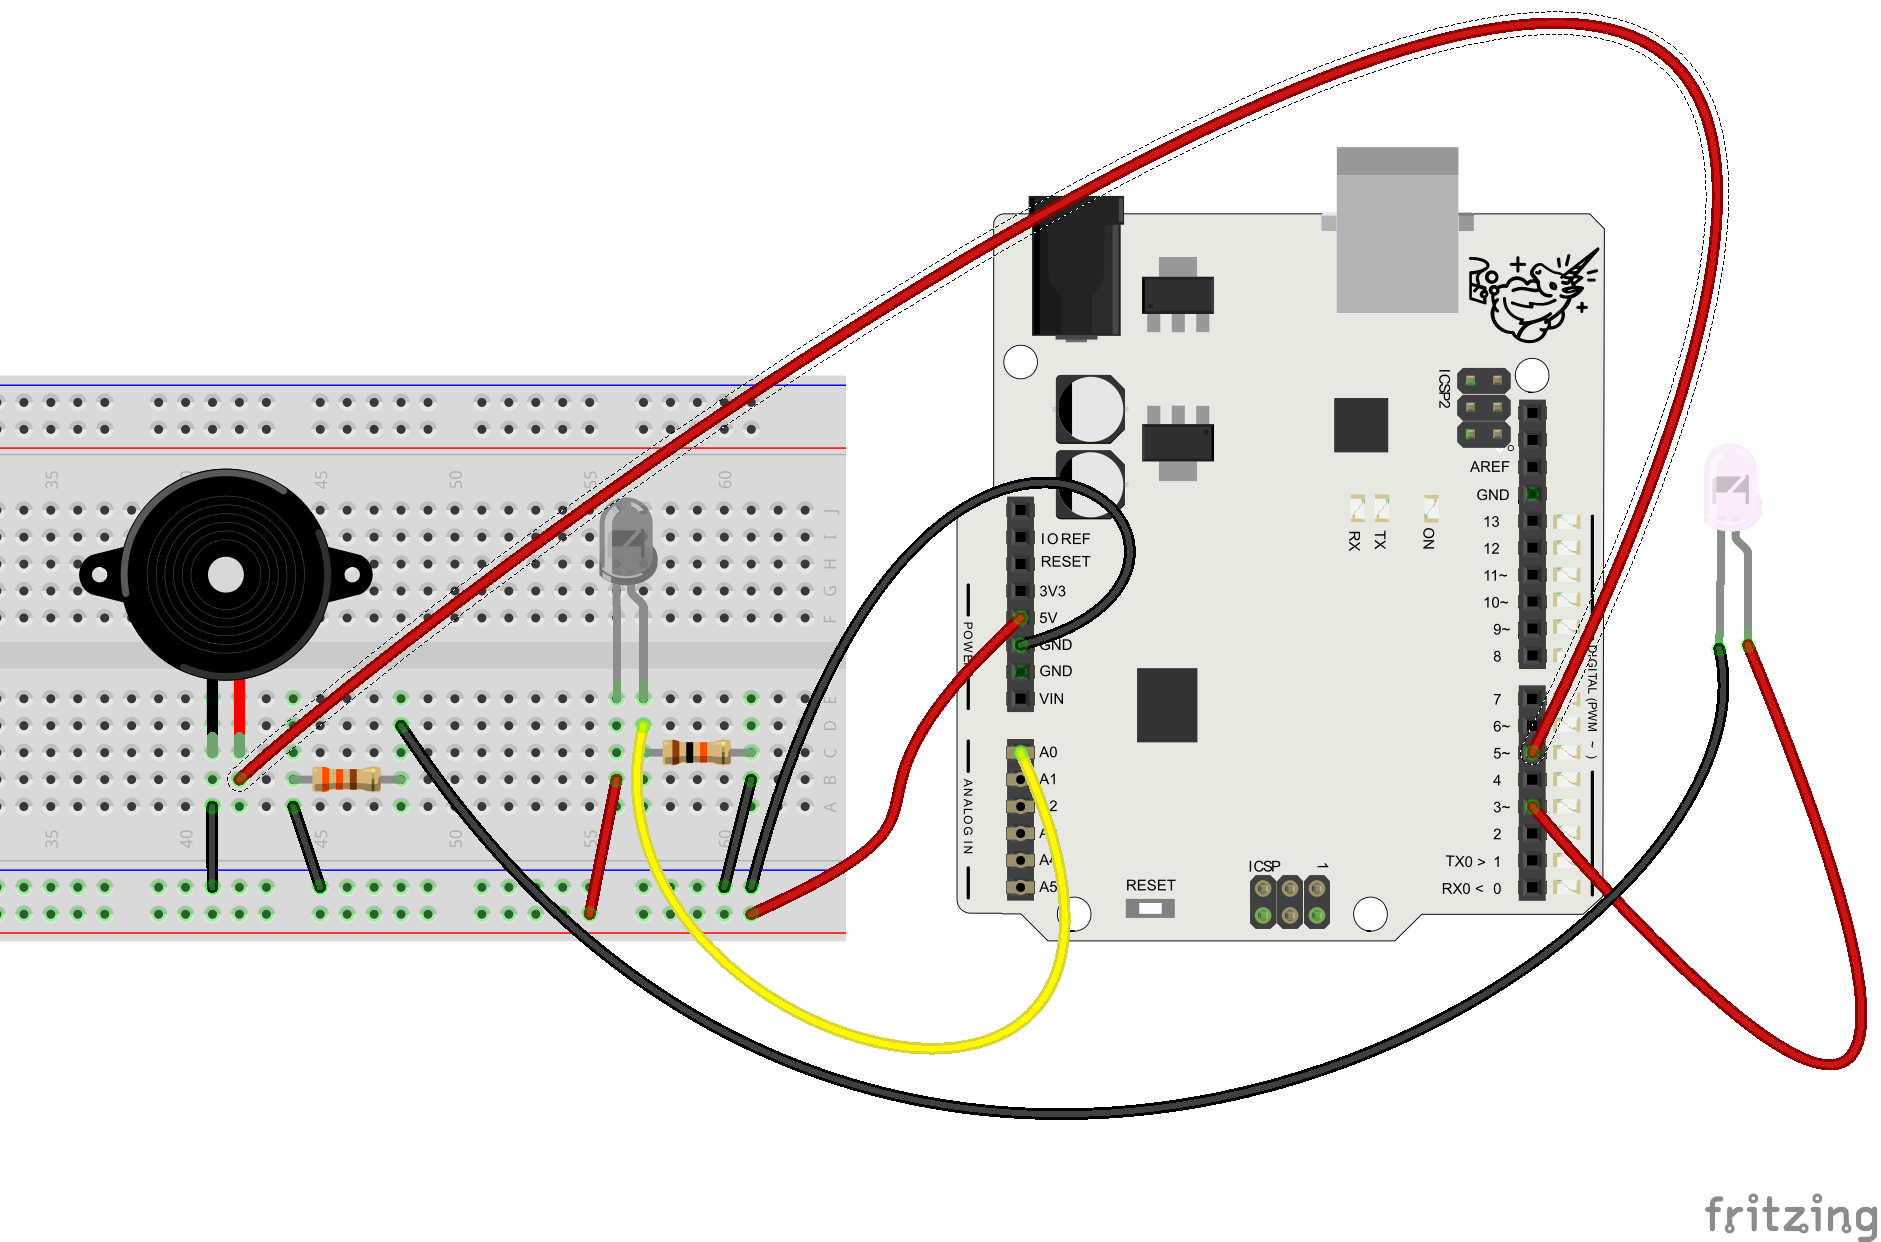
  • Kytke piezo porttiin 5 ja maahan
  • Kytke infrapunalähettimen (valkoinen) pidempi jalka jatko-johdon avulla porttiin 3 ja lyhyempi jalka myöskin jatkojohdon avulla 330 ohmin vastuksen kautta maahan.
  • Kytke infrapunavastaanottimen (musta) pidempi jalka analogiseen porttiin 0 sekä 10 kilo-ohmin vastuksen kautta maahan. Kytke lyhyempi jalka 5V-jännitteeseen.

Ohjelman tavoite

Kun infrapunavastaanotin havaitsee kaukosäätimen signaalin, piezo soittaa jonkin äänen. Kaikki käytettävät komennot ovatkin sinulle tuttuja, mutta voit palauttaa niiden toimintaa mieleesi alla olevien linkkien kautta.

Tutut komennot:

Ohjelmointi 1/3 - Infapunavastaanottimen testaus

Tehtävä
Kopioi alla oleva koodi editoriisi ja syötä se Arduinolle. Käynnistä Serial monitor. Tuo infrapunaa lähettävä led vastaanottimen lähelle ja tarkkaile, mitä arvoja vastaanottimesta tulee. Osoita tämän jälkeen vastaanotinta kaukosäätimellä ja painele sen eri nappeja. Minkälaisia arvoja vastaanotin havaitsee ja kuinka kaukaa pystyt viestejä lähettämään?
void setup() {
  pinMode(3, OUTPUT);
  Serial.begin(9600);
}

void loop() {
  digitalWrite(3, HIGH);
  Serial.println(analogRead(0));
}

Ohjelmointi 2/3 - Suurin arvo talteen

Saatoit huomata, että kaukosäätimen nappien painaminen aiheuttaa yksittäisiä suuria arvoja, jotka ehdit hädin tuskin nähdä monitorillasi.

Tehtävä
Tee nyt koodiisi seuraava lisäys. Se tallettaa maksimiarvon erilliseen muuttujaan ja tulostaa maksimiarvon aina juoksevien arvojen rinnalle. Käynnistä Serial monitor. Mikä on suurin kaukosäätimestä lähetetty arvo, jonka vastaanotin havaitsee? Entä mikä on infrapunalähettimestä saatava maksimiarvo? Resetoi Arduino välillä, niin maksimiarvokin nollautuu.
int remote;
int remoteMax;

void setup() {
  pinMode(3, OUTPUT);
  Serial.begin(9600);
}

void loop() {
   //Tallennetaan muuttujaan remote ir-vastaanottimesta tuleva arvo.
   remote = analogRead(0);
   //Jos arvo on suurempi kuin aiempi maksimiarvo, korvataan 
   //maksimiarvo uudella arvolla.
   if(remote > remoteMax){
     remoteMax = remote;
   }
   Serial.print("Value = "); 
   Serial.print(remote); 
   Serial.print("\t"); 
   Serial.print("Max-value = "); 
   Serial.print(remoteMax); 
   Serial.print("\n"); 
}

Ohjelmointi 3/3 - Ääntä piezosta

Viimeisessä vaiheessa otetaan piezo-summeri käyttöön. Piezo voisi soittaa melodian aina, kun kaukosäätimestä painetaan nappia. Voisit myös käynnistää piezon sijaan esimerkiksi aiemmin hakkeroimasi lelun!

Tehtävä

Täydennä ohjelma alla olevien ohjeiden mukaan ja syötä se Arduinolle.

  • Valitse kynnysarvo, jonka A0-porttiin tulevan signaalin täytyy ylittää ennen kuin piezosta kuuluu ääntä.
  • Kirjoita loop-komennon loppuun if-lause, joka testaa, ylittyykö kynnysarvo
  • Soita tone-komennon avulla esim. kaksi sekuntia kestävä ääni, joka soitetaan piezolla silloin, kun kynnysarvo ylittyy.
int remote;
int remoteMax;

void setup() {
  pinMode(3, OUTPUT);
  //Aseta piezon portti tilaan OUTPUT 
  Serial.begin(9600);
}

void loop() {
   remote = analogRead(0);
   if(remote > remoteMax){
     remoteMax = remote;
   }
   Serial.print("Value = "); 
   Serial.print(remote); 
   Serial.print("\t"); 
   Serial.print("Max-value = "); 
   Serial.print(remoteMax); 
   Serial.print("\n"); 
   // Jos valitsemasi raja-arvo ylittyy, soita piezolla jokin melodia
}

Lisätietoa

Melodioita Piezolla?

Pelkän äänen sijaan voisi olla hauskaa soittaa jokin melodia piezolla. Kolmannen luvun harjoituksessa R2D2 pääsitkin tutustumaan melodioiden soittamiseen. Katso myös tämä esimerkkiohjelma Arduinon sivuilta.