Tekstitykset
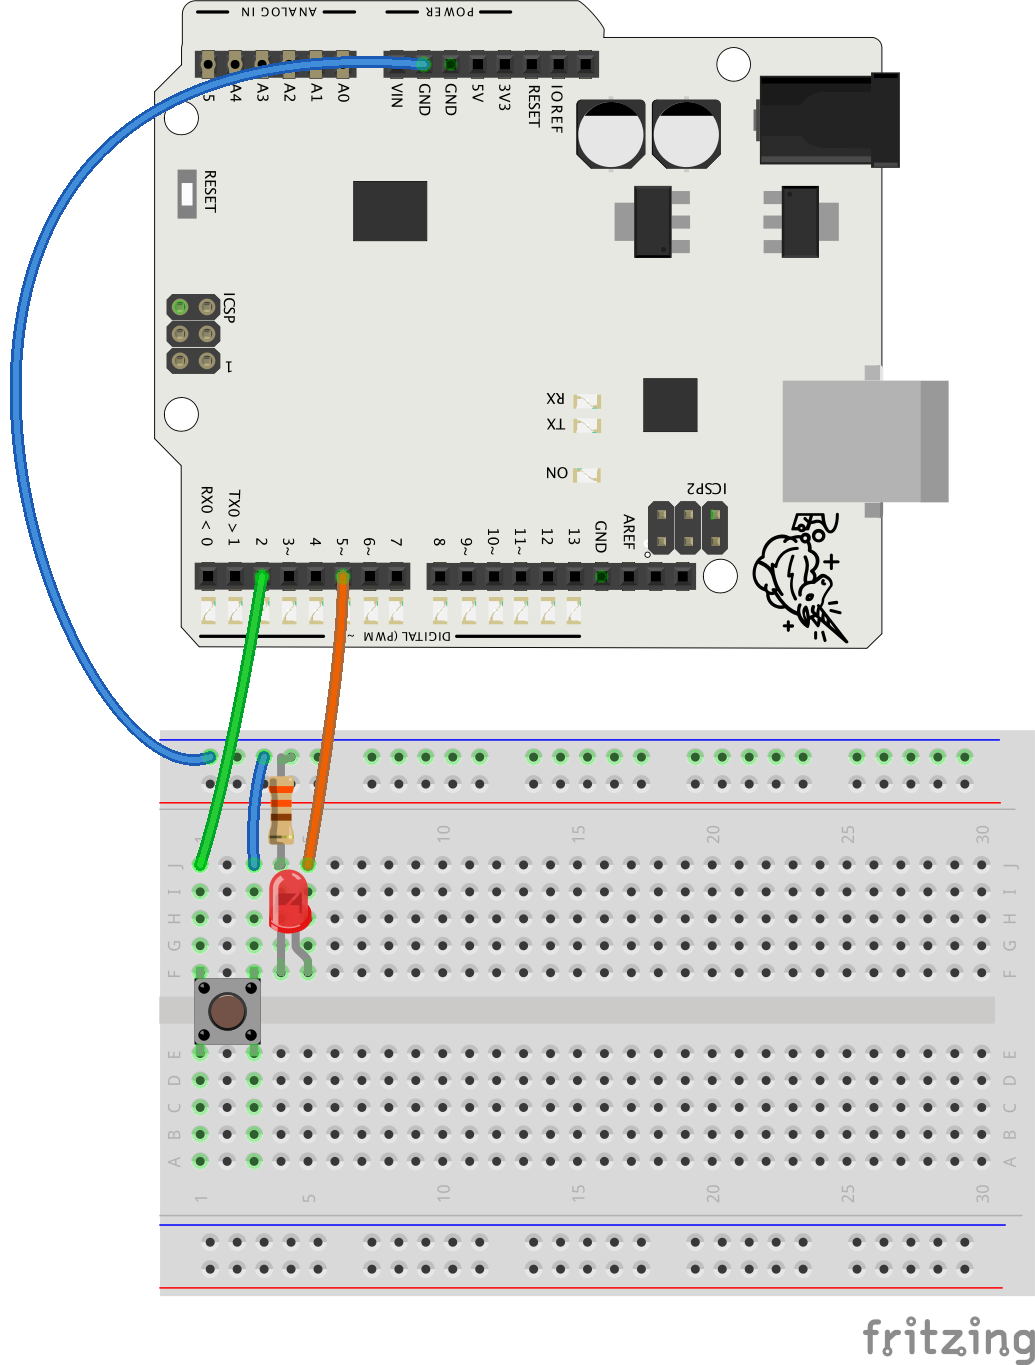
one of the pesky annoyances in life is walking up to a light switch to turn a light on what I need is to make use of an output for myself that doesn't require me walking to another spot the first I would likely come to mind is a simple clap so let's do just that to the light in my room and a simple clap sensor with off-the-shelf parts that anyone can build easily in a couple hours let's get started with the parts you'll need the first thing is a sound sensor like this one it has three pins 5 volt ground and an output pin for when it detects a sound that's loud enough and you can change that sensitivity through the on-board potentiometer the second thing you'll need is a microcontroller and I would recommend you use something like an 80 tiny but the only choice I have right now is an Arduino Nano which is immensely overkill for a project like this but that's all I have you'll also require a 5 volt relay this one cost me about 80 cents so very inexpensive you're also going to need some jumper wires a breadboard isn't necessary you could just link all the components with jumper wires or simply just solder the wires but what I'm going to be doing is using a small matrix board perf board whatever this is to avoid a watery mess and if you do go that route you can also get these male to female header things to act as terminals for the jumper wires some silver copper wire will also be helpful although you can get away by using some really thin wire as well some solder is needed as well and a soldering iron who woulda guessed alternatively you could use a hot glue gun but I highly discourage it because the connections will not be solid they can easily get disconnected so just use a soldering iron if you can't and lastly some tape and some wire will also be needed I also ended up picking some soldering flux which made the process a lot easier as well as some heat shrink tubes so get those if you can as well and also I am aware that you can do this project easily without the need of a microcontroller at all you can use something like an ne555 timer but the thing is ordering new parts takes about a month for me coming from China so I'm just gonna use what I have right now I will have links below to the stuff that I used though as for the plan all we're doing is opening up a light switch chopping a wire adding two new wires to the chopped wire feeding those into our relay it really gets connected to our Arduino it has three pins 5 volt ground and an put pen to tell it when to switch on and off on the other side we have our sound sensor its output pen gets connected to an eye open on the Arduino just like the relay except this time we're reading the signal as an input rather than outputting a signal which is the case for the relay and that's really it when I said this is gonna be simple I really did mean it so let's get started but first a warning now as you might have noticed we're dealing with mains Electric here which can go as high as 240 volts AC depending on where you live and if you get in contact with it it can be fatal it can kill you so if you don't know what you're doing just don't open up this light switch or anything I'm not gonna take any responsibility for any type of death injury anything so I'm warning you right now please proceed at your own risk and because safety always comes first our first step is going to be to cut the power to the switch that we're going to be working on so I'm gonna go over to the breaker box and cut the power to my room it was a process of trial and error for me to figure out which switch cut the power to my room and the one that did also had the plug of the Wi-Fi router on it so if you are going to be doing this and other people in your house are using Wi-Fi or a desktop PC just inform them first before you accidentally cut their power all right now that we've cut power to our switch we can open it up the switch I chose is the one beside my bed so I made space for myself and my tripod then I started opening it up and the wire I chopped was the ground wire then I stripped it and tried soldering when no good results which is when I realized two things number one I needed flux so I got that number two I realized that my seven dollar soldering iron was a complete piece of crap so I got a proper one from Weller I added some flux and tinned the wires then I joined them together afterwards I cut some heat shrink tube and shrunk that with a lighter once that was done I needed a way to run the wires outside the switch so I firstly drilled a hole in the plate and because of the awesome weight I was putting pressure on it while drilling it snapped in half some hot glue was required to save it and the wires did run through find in the end I also marked the position of the hole and the foam thing that goes before the plate and simply cut that part with a pair of scissors after that I tidied up the wires put the screws back in for the switch around the wires through the foam and the plate and secured it back into the wall to check out the connections we're still solid and everything was going to work fine I uploaded a simple test program to the Arduino hooked up the relay to the wires and Arduino turned on mains power and got the green light to move on when the light did in fact start blinking then I attached two new wires to the leads coming out with the same flux and Heatran treatment and after that was done it was time to make the Arduino circuit so I got the matrix board and started soldering the terminal for the relay wires first then the Arduino I connected the necessary wires firstly through silver copper wire but in the interest of time and my laziness I just cut up some thin wire and soldered that also in the interest of time for the terminals for the sound sensor I had to spend some jumper wires and soldered those then it was just a matter of making the right connections I don't think there's any real need for a diagram or schematic for this matrix board it's literally just 5 volt goes to 5 volts ground goes to ground and the input pin for the relay and the output pin for the sound sensor both get connected individually to any digital i/o pin on the Arduino afterwards I did a test run of the whole circuit with the code which I will talk about in a sec to see if the relay would toggle on a double clap and it did ok as for the code I was searching and found this video from a channel called t3 IX in which the code for a double clap was generously provided and it works great which is why I used it now it would be wrong of me to use someone else's code for this project make a video about the project mentioned that I used their code and then still monetize the video and make money off of it so I didn't monetize this video and unless they use adblock in which case you don't count you shouldn't have seen in the ad after you clicked on this video alright with that out of the way I then downloaded the code changed the pin numbers to the correct ones and then simply connected the Arduino through USB to my laptop to upload the code then I went to the side of my bed to position everything and secured it to the bed with tape at this point in time I couldn't find anything other than scotch tape so I just used that I positioned the sound sensor a bit above the frame and I also connected the wires coming out of the switch to the relay then I moved my bed back in the corner and noticed that the wires were more visible than I'd like so I simply moved the relay down more which also required me to add some extra jumper cables then I turned on mains power from the breaker box and the claps which was indeed fully functional now I can just walk into my room clap twice and the lights will turn on all without reaching for the switch behind the door again this doesn't require any special skill or a lot of money as all the parts are very inexpensive so if I can build this of course you can too thank you for watching and to you guys later