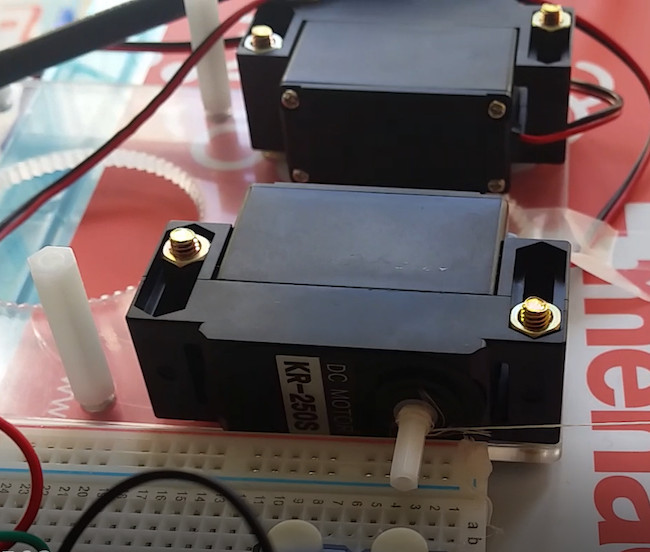
Note!
In the picture, there are two regular electric motors, but in this exercise, we’ll use geared motors.
There are a lot of techniques to build a moving robot, but of course, you’ll need motors to produce motion.
With Arduino, you can control all normal electric motors: solenoids, servos, stepper motors, vibrating motors, and DC motors. The simplest motor is DC (Direct Current) -motor. In this exercise, you can use geared DC-motors or rotating servo-motors.
First, we’ll build a vehicle running on wheels, that moves around by itself.
In addition to Mehackit-board (or Arduino), breadboard, wires, and USB cable, you’ll need:
| Part | Picture | Description |
|---|---|---|
| 2 x Geared DC-motor or 2 x Rotating servomotor | 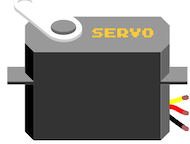 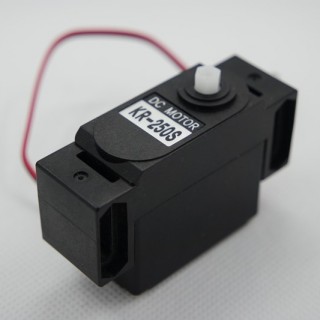 | In your Maker kit, there's either two black geared DC-motors or two blue rotating servomotors. You can use either option for this exercise! |
| Motor driver L293D, i.e., H-bridge | 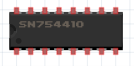 | You'll need this part if you use black geared dc-motors. This driver is a microchip that consists of several components, which can amplify the current coming from Arduino, prevent charges produced by the motors, and thus protect Arduino's pins. Most importantly, you can use the microchip to control the rotational speed and direction of the motor. |
| 9V-battery and connector | 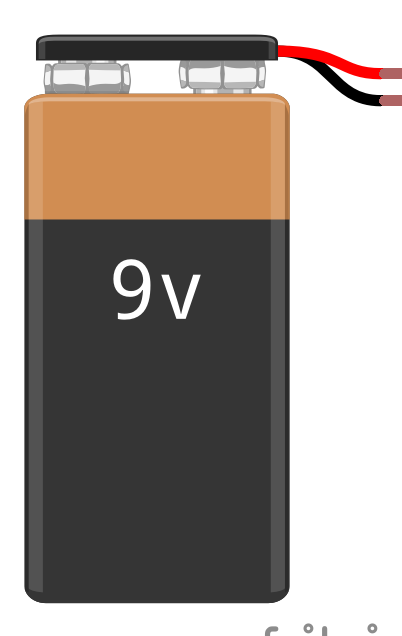 | 9V battery powers Arduino. |
| 4 X AA battery (6 V) and connector | 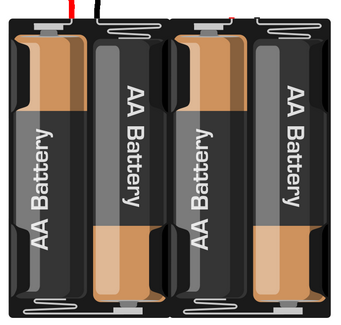 | This is used as a power source for the motors. If you don't have these batteris or the connector, you can power both the Arduino and the motors with the 9V-battery for a short period of time! |
| Moving Vehicle DIY-kit | 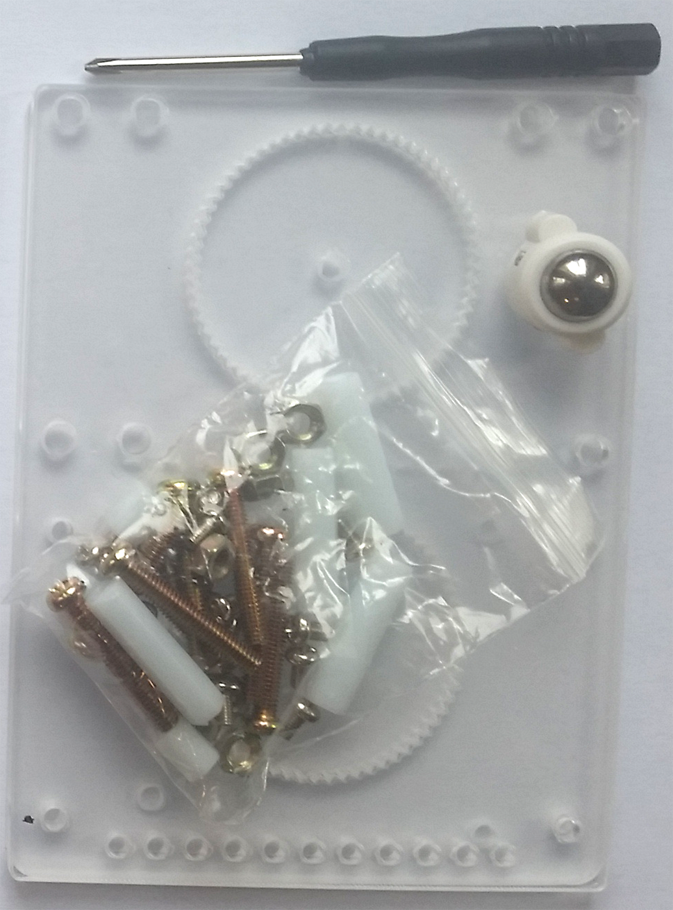 | Maker kit includes a DIY-kit that consists of plastic boards, bolts, nuts and spacers. If you don't have it, you can improvise and build a frame for your robot with e.g. cardboard or legos! |
Maker kit includes a DIY-kit that consists of plastic boards, bolts, nuts and spacers. In the video below, there’s instructions for building the vehicle with this kit!
In the video, two blue servomotors are attached to the vehicle. If you have black geared motors, attach both of them to the acrylic boards according to the image below. Otherwise, you can follow the instructions in the video.
If you have black geared dc-motors, build the circuit with the instructions below. If you have blue servomotors, jump to the next part!
For this connection, you’ll need a lot of wires and some patience. We’ll take one step at a time - you don’t have to understand everything just yet!
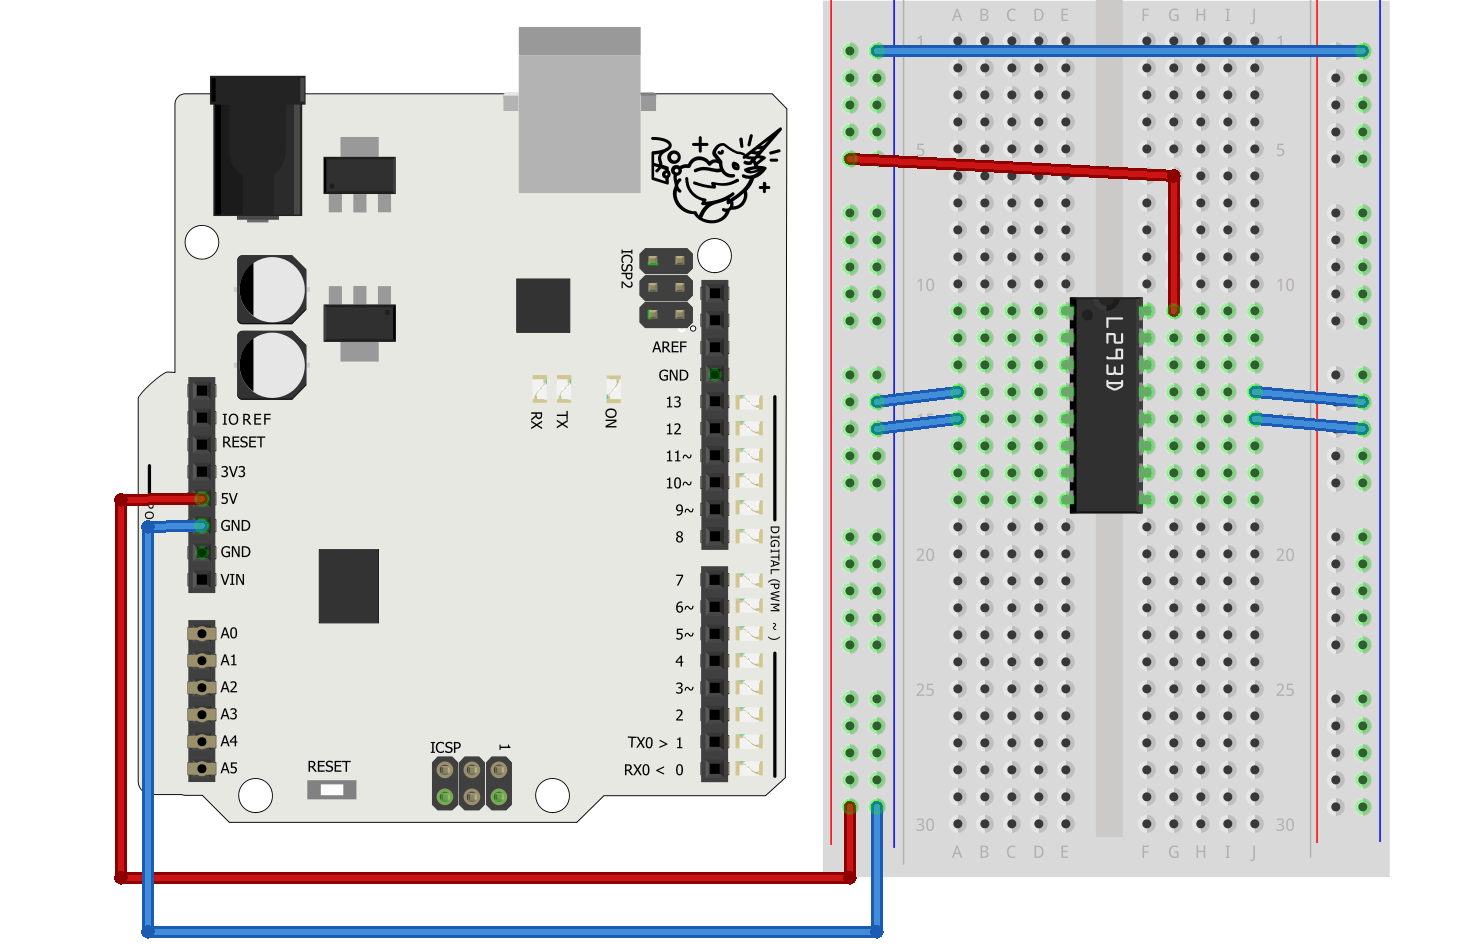
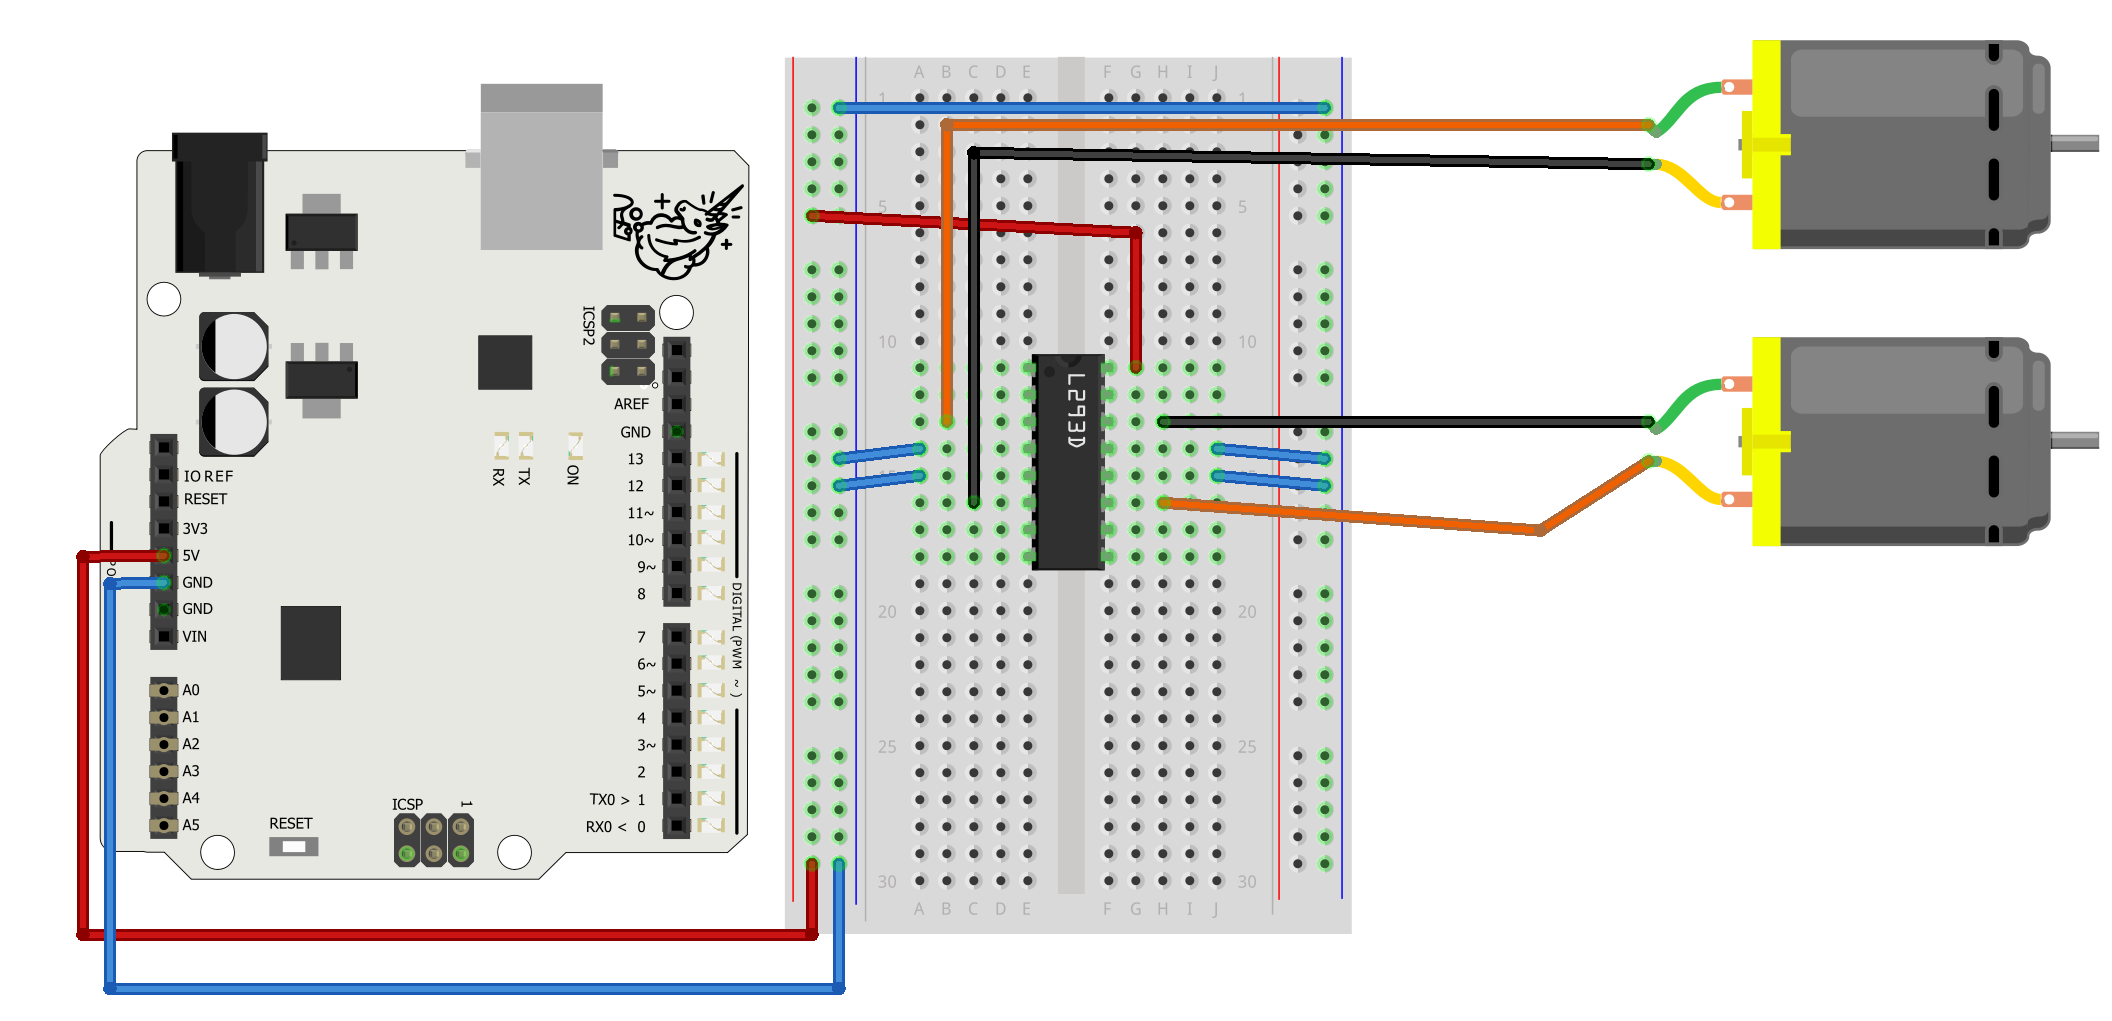
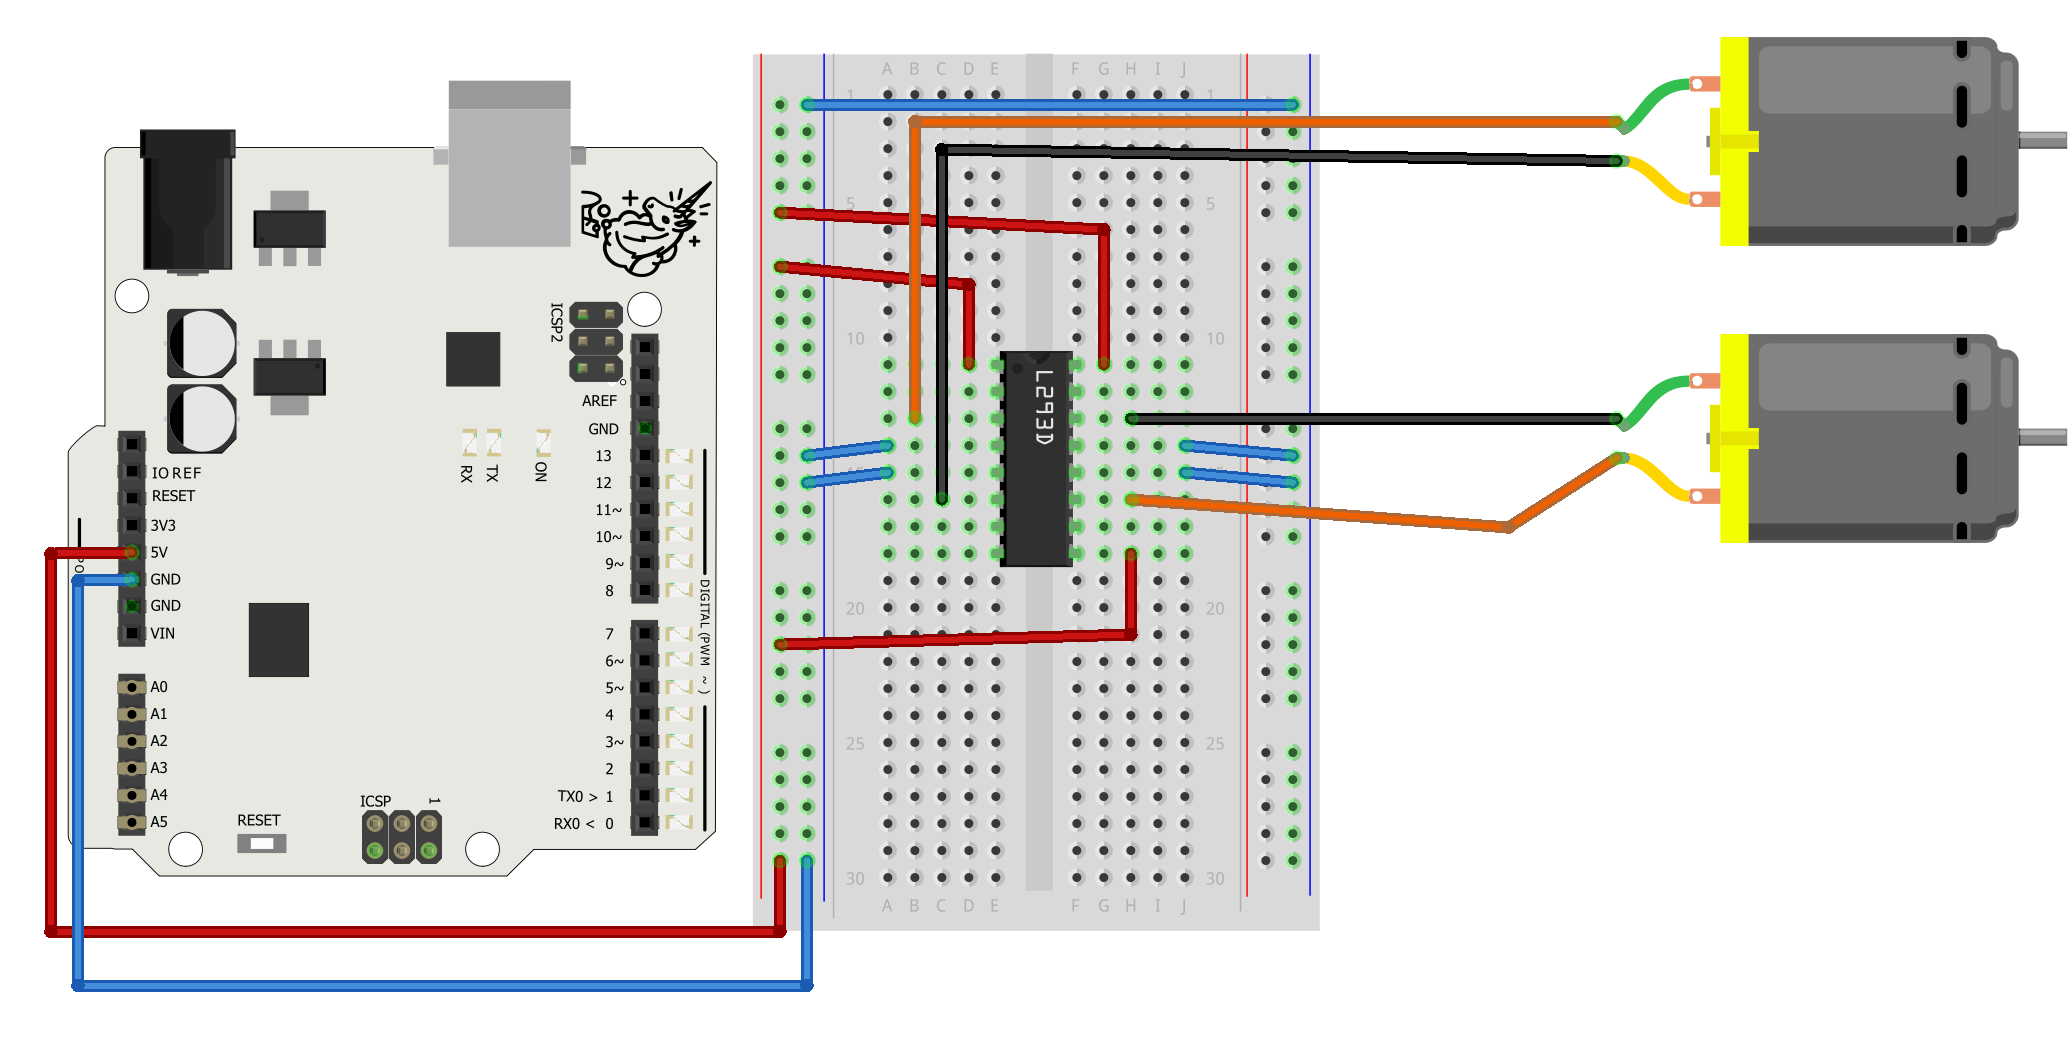
Connecting the Motors:
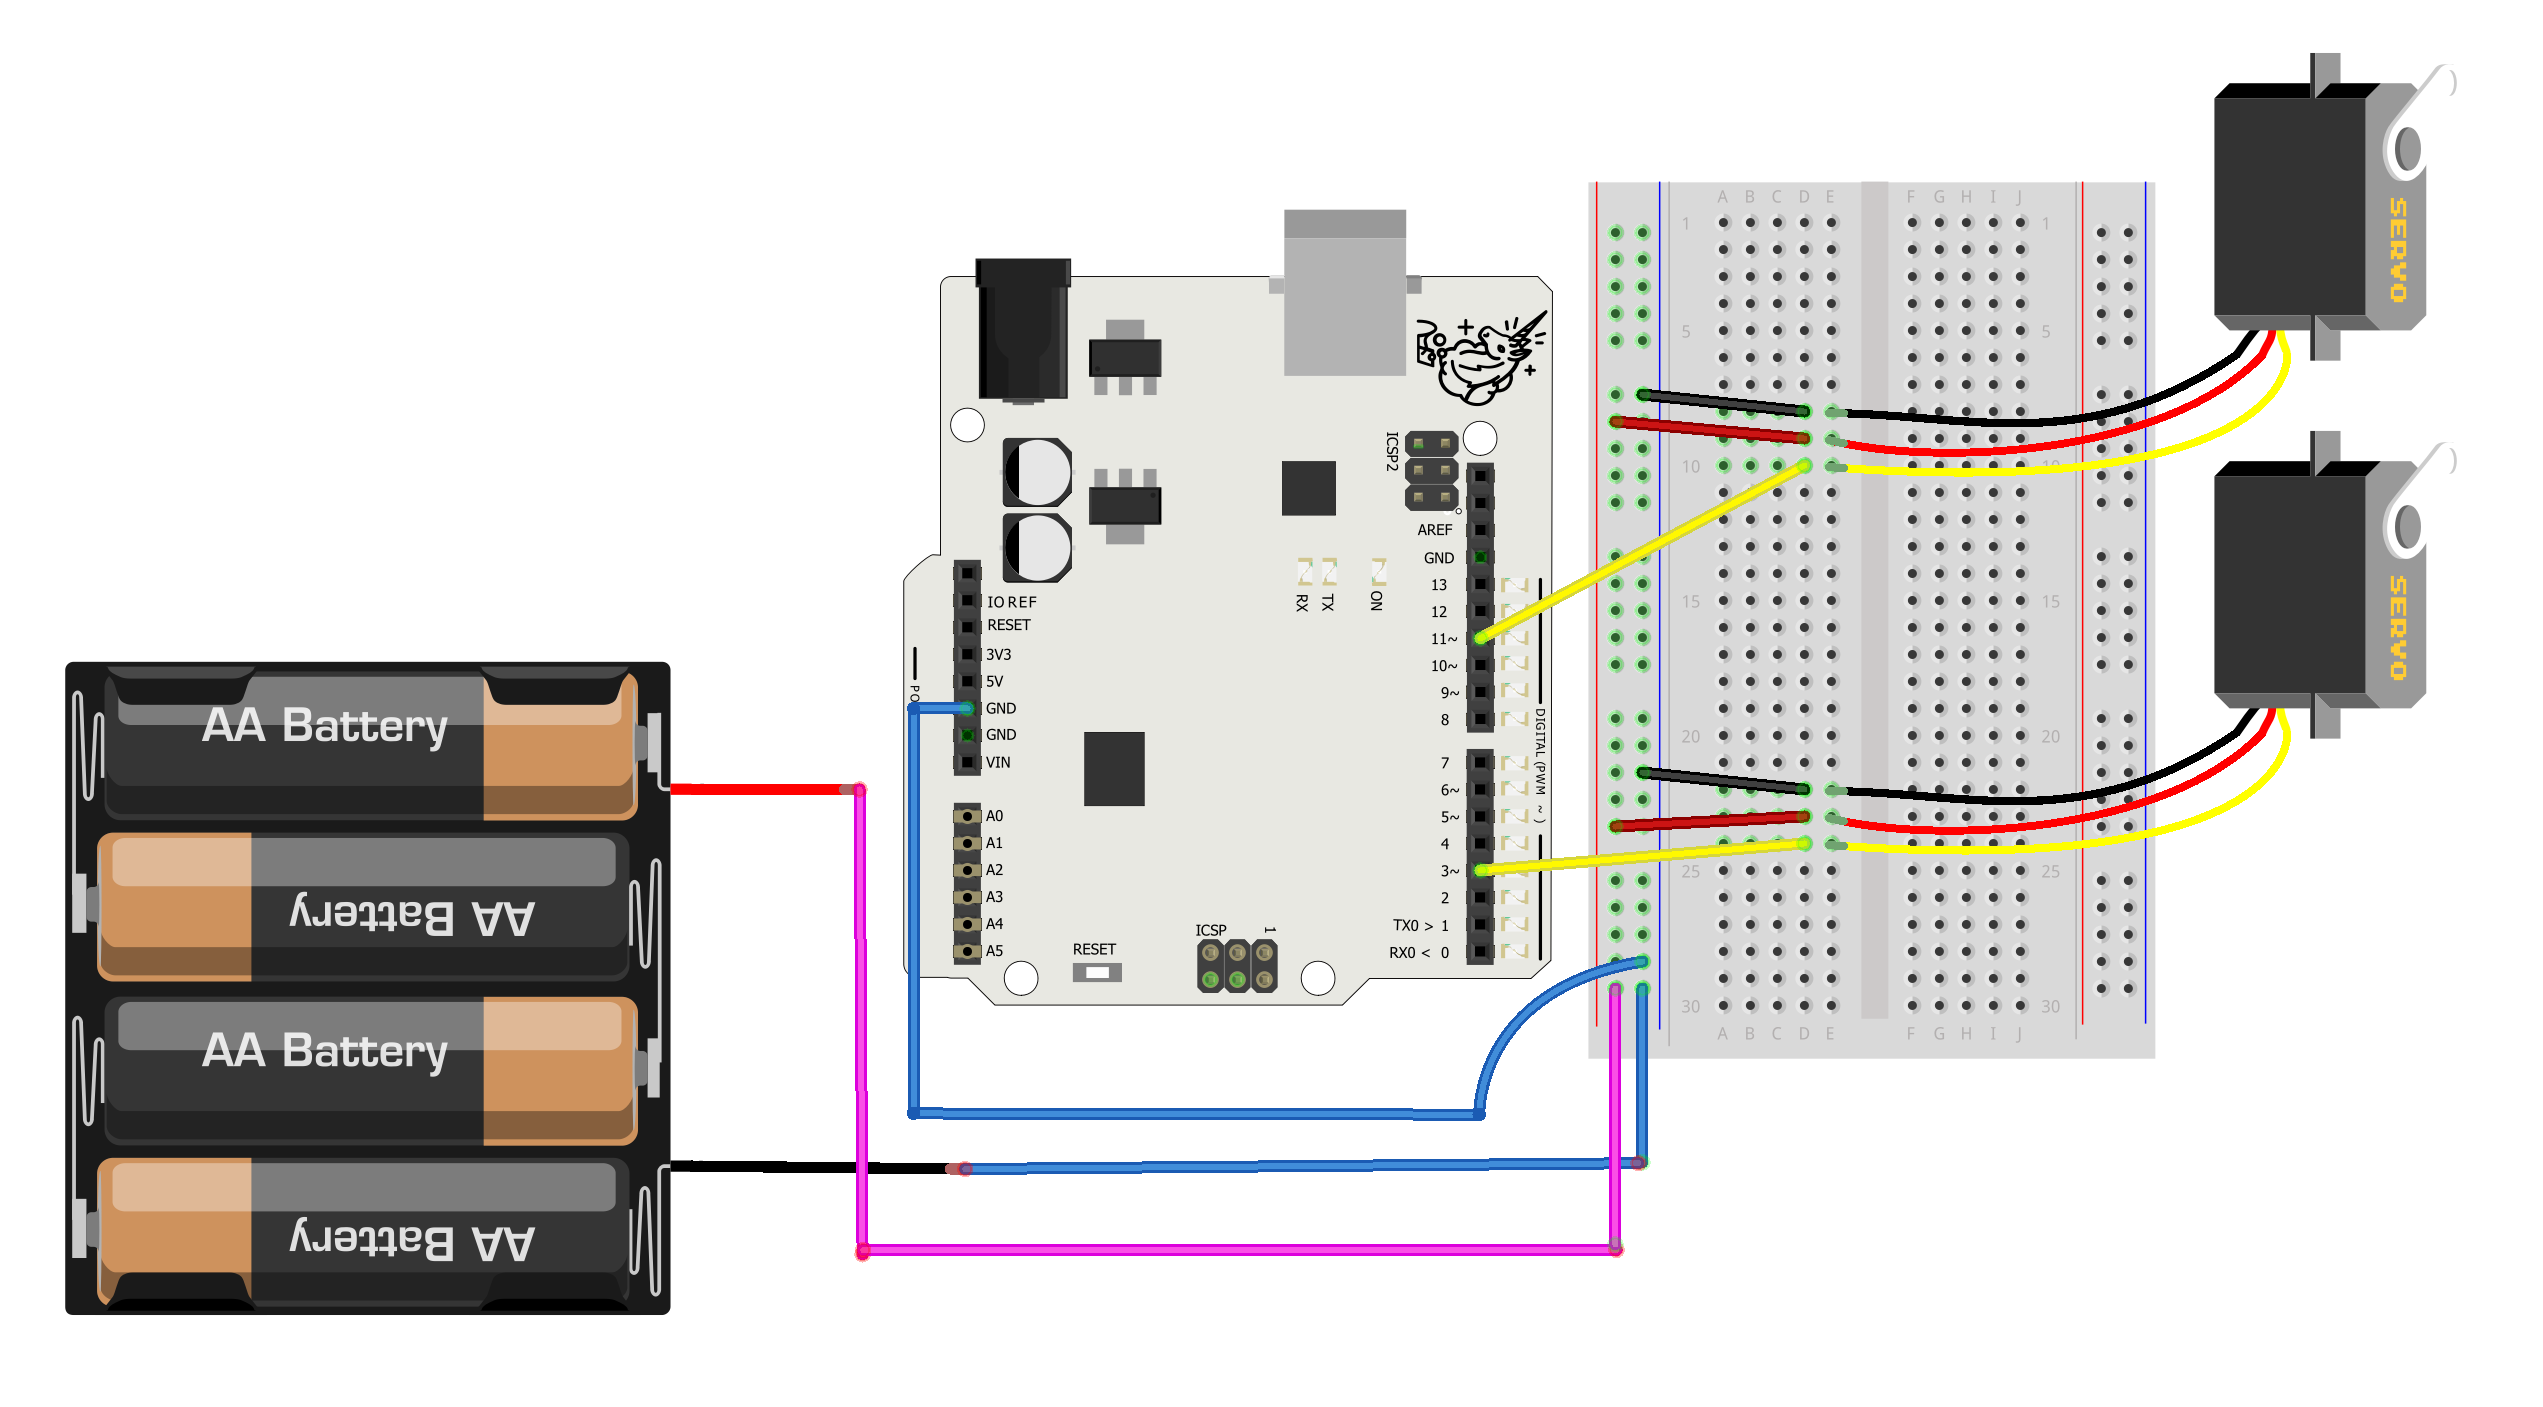
If you use blue servomotors, build the circuit below.
In this part you can find instructions for programming the black geared DC-motors. If you use servomotors, jump to the next part!
The robot repeats randomly the following actions: turn right or left (for 1,5 seconds), reverse (for 4 seconds) and go forward (for 4 seconds). If both motors rotate forward or backward, the robot goes straight. In turns, only one of the motors rotates.
Familiar commands
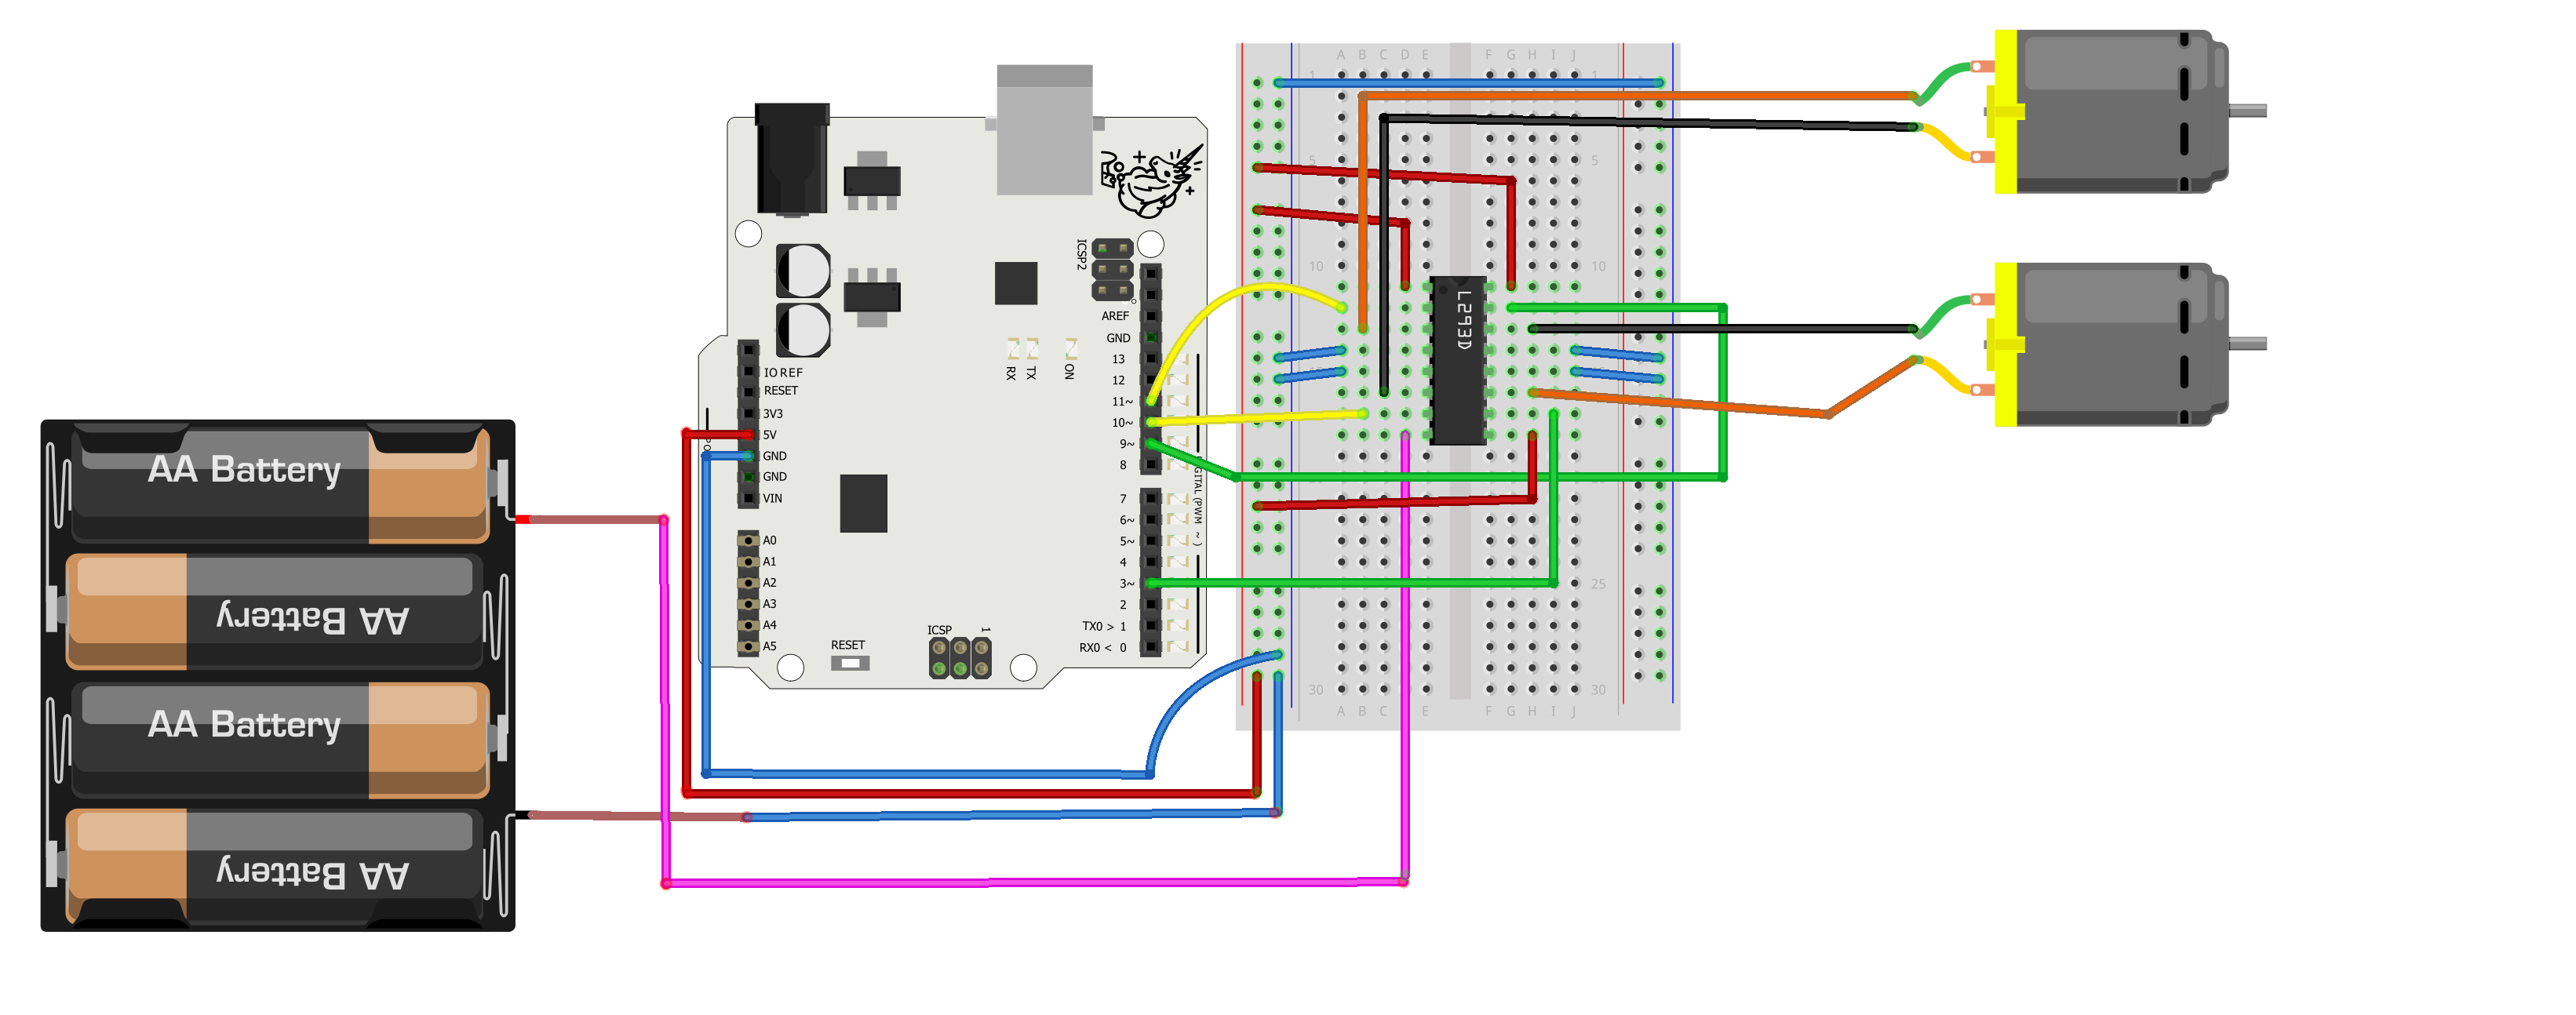
You’ve now connected four pins of the microcircuit to four pins of Arduino (3, 9, 10 and 11). Through them, we’ll transmit the microcircuit’s instructions on changing the rotational speed and direction of the motors.
First, define which Arduino’s pins are connected to the microcircuit’s pin. Do this by using four integer variables in the top of the program.
// control pins of the motor and corresponding pins of Arduino:
int rightMot1 = 3;
int rightMot2 = 9;
int leftMot1 = 11;
int leftMot2 = 10;
Next, define a couple of variables, which you use to control the motors - speed and action.
int speed=100;   // rotational speed of the motors
int action=1;   // variable receives values between 1-4: the robot has four different actions.
In setup, define the pins of Arduino as outputs.
void setup(){
  pinMode(rightMot1, OUTPUT);
  pinMode(rightMot2, OUTPUT);
  pinMode(leftMot1, OUTPUT);
  pinMode(leftMot2, OUTPUT);
}
Next, we’ll program how the motors work.
In the loop-function, we’ll randomly select, what the robot does next. The options are:
void loop() {
  action = (random(1,5)); // randomly select a value between 1-4
  // Note: random function doesn't acknowledge the highest value, i.e., 5!
  delay(1000);
  // Next, we'll write the different actions of the robot here
}
One value out of four is randomly selected for the variable action, and each value means a different action. We’ll write the actions in loop function.
// Go forward
if (action == 1) {
    analogWrite(rightMot1, speed);// rotates forward with the speed "speed"
    analogWrite(rightMot2, 0);  // speed of the right motor backwards is 0
    analogWrite(leftMot1, speed);// rotates forward with the speed "speed"
    analogWrite(leftMot2, 0);  // speed of the left motor backwards is 0
    delay(4000);   // robot moves forward for 4 seconds
  }

// Go backward:
if (action == 2) {
    analogWrite(rightMot1, 0);     // speed of the right motor forward is 0
    analogWrite(rightMot2, speed);// rotates backwards with the speed "speed"
    analogWrite(leftMot1, 0);   // speed of the left motor forward is 0
    analogWrite(leftMot2, speed);// rotates backward with the speed "speed"
    delay(4000);      // robot moves backwards for 4 seconds
  }

// Turn left:
if (action == 3) {
    analogWrite(rightMot1, 0);     // speed of the right motor forward is 0
    analogWrite(rightMot2, 0);     // speed of the right motor backward is 0
    analogWrite(leftMot1, speed);// the left motor rotates forward
    analogWrite(leftMot2, 0);     // speed of the left motor backwards is 0
    delay(1500);       // the turn lasts for 1,5 seconds
  }


// Turn right:
if (action == 4) {
    analogWrite(rightMot1, speed); // the right motor rotates forward
    analogWrite(rightMot2, 0);      // speed of the right motor backwards is 0
    analogWrite(leftMot1, 0);      // speed of the left motor forward is 0
    analogWrite(leftMot2, 0);      // speed of the left motor backwards is 0
    delay(1500);      // the turn lasts for 1,5 seconds
}
You can very well use this robot as a base for the final project: you can camouflage it, add all sorts of things from a mop to a paintbrush or a catapult to it, control it with different sensors, program it to go different routes… In the next exercise, we’ll add a sensor to the robot!
If you have challenges, check the part Challenges with the robot? in the end of this project.
The robot repeats randomly the following actions: turn right or left (for 1,5 seconds), reverse (for 4 seconds) and go forward (for 4 seconds). If both motors rotate forward or backward, the robot goes straight. In turns, only one of the motors rotates.
If you have programmed servomotors before, all these commands are probably familiar to you. If not, you’ll learn more soon!
Familiar commands:
New commands:
#include <Servo.h>

Servo servo1;
Servo servo2;

void setup() {
  servo1.attach(3);
  servo2.attach(11);
}
You can control the servos with servo.write-command. The value given to servos must be 0-180, e.g. servo1.write(150). The logic is the following:
Next, values 150 and 30 are used for controlling the servos. These values should result in the same speed, but to different directions.
What makes things a little bit more complicated is that the servos are inevitably connected to the vehicle so that e.g. the command servo.write(150) makes ‘the other servo rotate forward and the other backwards! But don’t worry, you’ll find proper values by experimenting!
int speed1 = 150;  // speed
int speed2 = 30;   // speed to other direction
int action = 1;   // variable receives values between 1-4: the robot has four different actions.
In the loop-function, we’ll randomly select, what the robot does next. The options are:
void loop() {
  action = (random(1,5)); // randomly select a value between 1-4
  // Note: random function doesn't acknowledge the highest value, i.e., 5!
  delay(1000);
  // Next, we'll write the different actions of the robot here
}
One value out of four is randomly selected for the variable action, and each value means a different action. We’ll write the actions in loop function.
// Go forward
if (action == 1) {
    servo1.write(speed1);
    servo2.write(speed2);
    delay(4000);   // robot moves forward for 4 seconds
  }

// Go backward:
if (action == 2) {
    servo1.write(speed2);
    servo2.write(speed1);
    delay(4000);      // robot moves backwards for 4 seconds
  }

// Turn left:
if (action == 3) {
    servo1.write(speed1);
    servo2.write(90);
    delay(1500);       // the turn lasts for 1,5 seconds
  }


// Turn right:
if (action == 4) {
    servo1.write(90);
    servo2.write(speed2);
    delay(1500);       // the turn lasts for 1,5 seconds
}
You can very well use this robot as a base for the final project: you can camouflage it, add all sorts of things from a mop to a paintbrush or a catapult to it, control it with different sensors, program it to go different routes… In the next exercise, we’ll add a sensor to the robot!
The wheels of the robot slip
Add friction by placing duct tape or Blu-Tack around the wheels.
The robot goes forward for 1,5 seconds and spins for 4 seconds
If this happens, the robot works the opposite way it should. Switch two wires of one of the motors to opposite holes in the breadboard. You’ll have to test, which motor needs its wires switched.
Motor or motors don’t rotate in any circumstances
If you use servomotors, go through the circuit one more time. If you use geared DC-motors, try the following things.
All electronic components need a right amount of Voltage and current to work reliably. With a servomotor and a DC-motor, the stats are the following.
Voltage: 4.8V-6V
Current: 100-800mA
Arduino’s pins can’t provide more than 500mA for a longer period of time, as is explained in this Adafruit tutorial. Together, motors may need more than 1000 mA and that’s why they work unreliably when powered with Arduino’s 5V-pin.
A good alternative is to use four AA-batteries as an external power source (6V in total).
More information:
https://learn.adafruit.com/ladyadas-learn-arduino-lesson-number-0/power-jack-and-supply
http://rcarduino.blogspot.com/2012/04/servo-problems-with-arduino-part-1.html
https://electronics.stackexchange.com/questions/67201/maximum-current-draw-on-vin-pin
H-bridge
H-Bridge L293D is an integrated circuit (IC, microcircuit) that consists of several different components. The H-bridge amplifies the current coming from Arduino and prevents charges produced by the motors and protects Arduino’s pins. Most importantly, the microcircuit can control the rotational direction and speed of the motor.
Functions
If you want, you can write the actions of the robot as functions. This makes the code cleaner: in loop, it’s easier to determine the logic of the program, and functions reveal the different movements of the robot.