Transcript
Such lovely sounds, ah! Now it reacts to my hand but I wonder if there's
some other technique to play this instrument. You could make music with all kinds of shadows
and lights. Plug the battery to the board and carry the
instrument around to explore your surroundings. You can find bright, blinking lights that
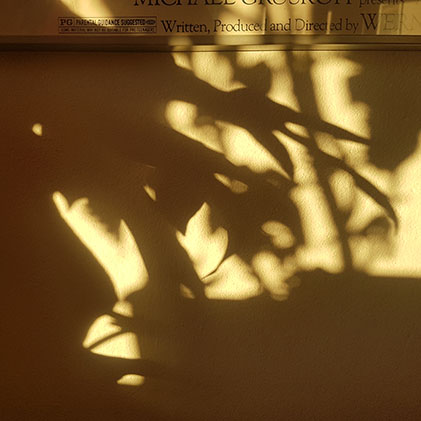
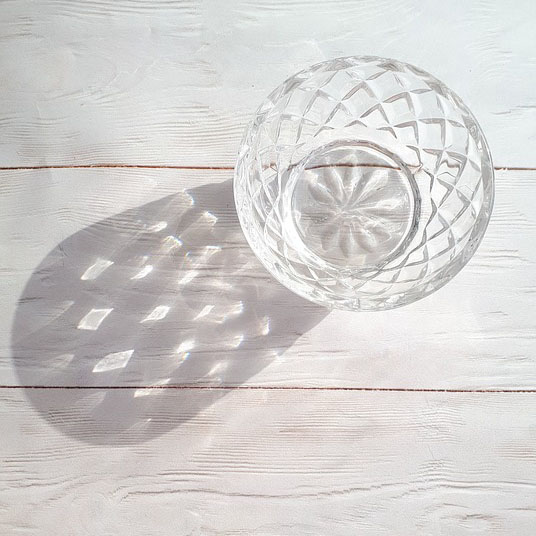
create nice sounds. You can even make a light or shadow phenomenon
audible. How does a sunset or moonlight sound like? Or sunshine reflecting from a pool of water? If you find curious moving shadow patterns,
you can create rhythms, too. How about playing music with a fidget spinner? Remember, you can always use extension wires
to move the components to better spots if you want to build a casing for the instrument. If the LDR is picking up unwanted light or
shadow, consider putting it into a tube or a funnel to control the signals it's picking
up. Oh, and don't forget the potentiometer, either. You can improve the interface and attach something
to the shaft. A toy, a steering wheel. You've already tested a few programming tricks,
too. Continue fine-tuning the code so your shadow
and light experiments produce the maximal impact. Work with the ranges of the map command, change
the condition in the if statement or make more if statements to fire up new features. The most important thing: keep it pretty simple
at this point. It doesn't have to be perfect right away. And you can always continue with this project
later on.