Exercise 1: Your Own Switch


Do this

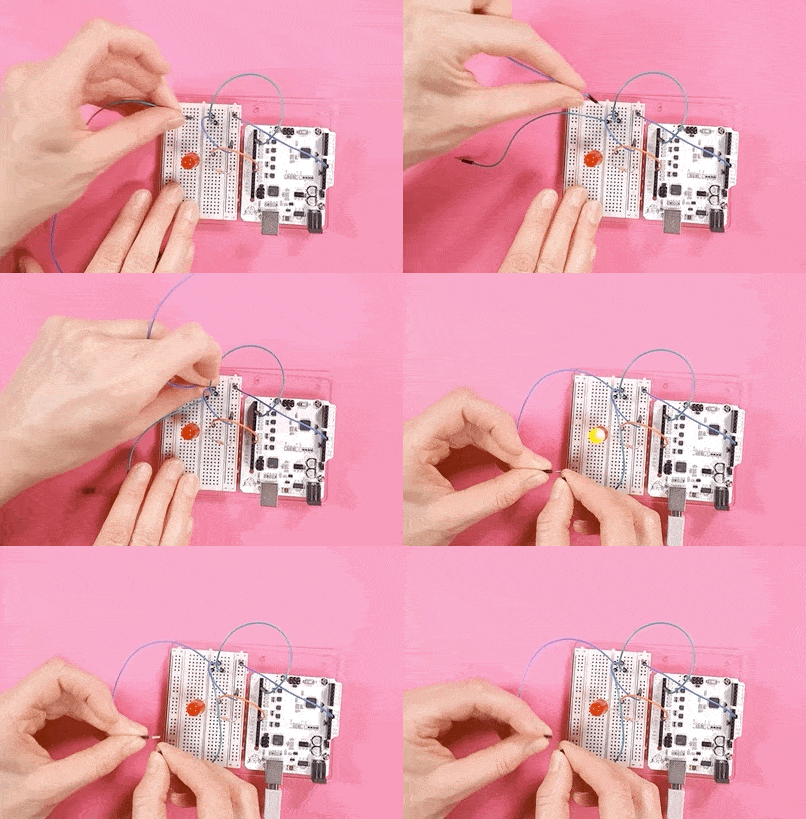
Design and build your own switch and connect it to the doorbell project you built in the previous section.

The simplest possible switch consists of two jumper wires: just remove a button and connect two jumper wires to the breadboard. Continue from there!

  • Play around with the wires. What kind of conductive objects or materials could you connect to them? Fork and knife? Paper clips, pins, or screws? Toy cars?
  • What kind of a movement or activity can you use? Sitting down, throwing, rolling, dropping, or steering...
  • What materials and tools do you have at hand? 

Tips:

  • Keep it simple! Don't get stuck with this mini project forever! Just start somewhere, it doesn't have to be perfect. You can always make even more awesome switches in your future projects.
  • Aluminium tape is a great material for making switches! You can get started with regular tin foil and paper glue, as well.
  • Look around you - what kind of switch mechanisms are there? How do the switches in your Arduino electronics kit work? Use them to get new ideas!

Simple Switch Model

You can make a simple but versatile switch with cardboard, a stapler and some aluminium foil or tape. Craft it into any shape you like! This switch could be used for a digital whoopee cushion, a burglar alarm, or a target for a ball-throwing game… you name it.


Educator notes

This exercise will help the students realize that they can also make certain components like switches.

The outcome does not need to be epic to be an accomplishment. Testing a simple idea and doing a little experimentation will leave a lasting memory. 

Ideas for facilitating this project

  • Keep it simple - encourage the students to finish their exercise in 15-20 minutes. It is common to try and make a project that is way too ambitious so be sure that they consider the time available! A positive, encouraging way to help students whose projects seem a bit complicated, is to discuss how to break the project into more manageable phases. What is the easiest part the students can finish and test first? What should come next? This way they will end up with a working project and a list of ideas for future development, instead of stressing about an unfinished project.
  • On the other hand, if you find this exercise suitable for a larger project, feel free to assign more time to it and instruct the students to pay more attention to their designs.
  • A quick discussion on what kind of switch mechanisms there are is a great way to get oriented. Search online (both actual switches and DIY projects) and look around in the class room. Do an observation walk or take apart toys or electric devices if you have the time and opportunity.
  • Make bigger models of common switches: how would you make a model of a tilt switch, a reed switch or a keyboard key? 
  • Encourage the students to act as test users for each other's projects. 
  • Students can add LEDs to the circuit and remove the piezo if they want, as well as modify the code accordingly.
  • Also, pay attention to the movement or mechanism required to use the switch. What kind of action is required to close the switch: rolling, swinging, falling, stepping, shaking, stretching or is it something else?

Ideas for materials

  • Simple crafting materials like tape, cardboard, paper glue, a stapler and tin foil will get you started just fine.
  • Aluminium/copper tape is very practical for making quick circuits!
  • Keep an eye out for interesting everyday metal objects like kitchenware or household hardware 

Related topics to explore

You can search for interesting projects for example in Instructables

Search terms could be:

  • Paper electronics
  • e-textiles
  • conductive ink