Exercise 2: Traffic Lights


Parts


Do this
PartImageDescription
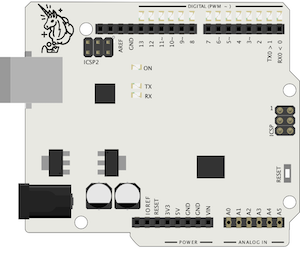
Mehackit Board (or Arduino UNO)A minicomputer you can program to control light, sound and motors. Connect sensors or switches to make interactive devices.
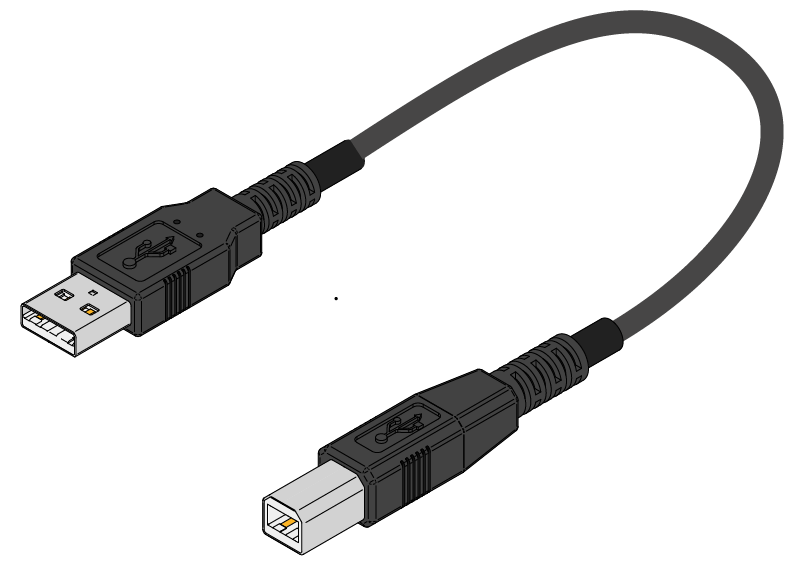
USB cable (A/B)You upload the program you have written on the computer to Arduino through the USB cable. Arduino also gets power through it.
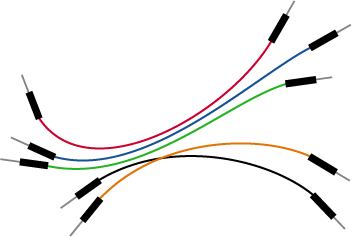
Jumper wiresYou'll need plenty of thin wires of different colors when working with Arduino!
BreadboardBreadboards are great for making temporary circuits.
3 x LED: Red, yellow and green

LEDs conduct electricity to one direction only. The longer leg is connected towards the 5V pin or later on a programmable digital pin.

3 x Resistor 330Ω (or 220Ω)

Resistors resist the flow of an electric current. The value of the resistor is measured in ohms (Ω). The resistance value is coded into the colored stripes (330Ω: orange, orange, brown and gold). You can replace the 330Ω resistor with a 220Ω one.


Circuit


Do this

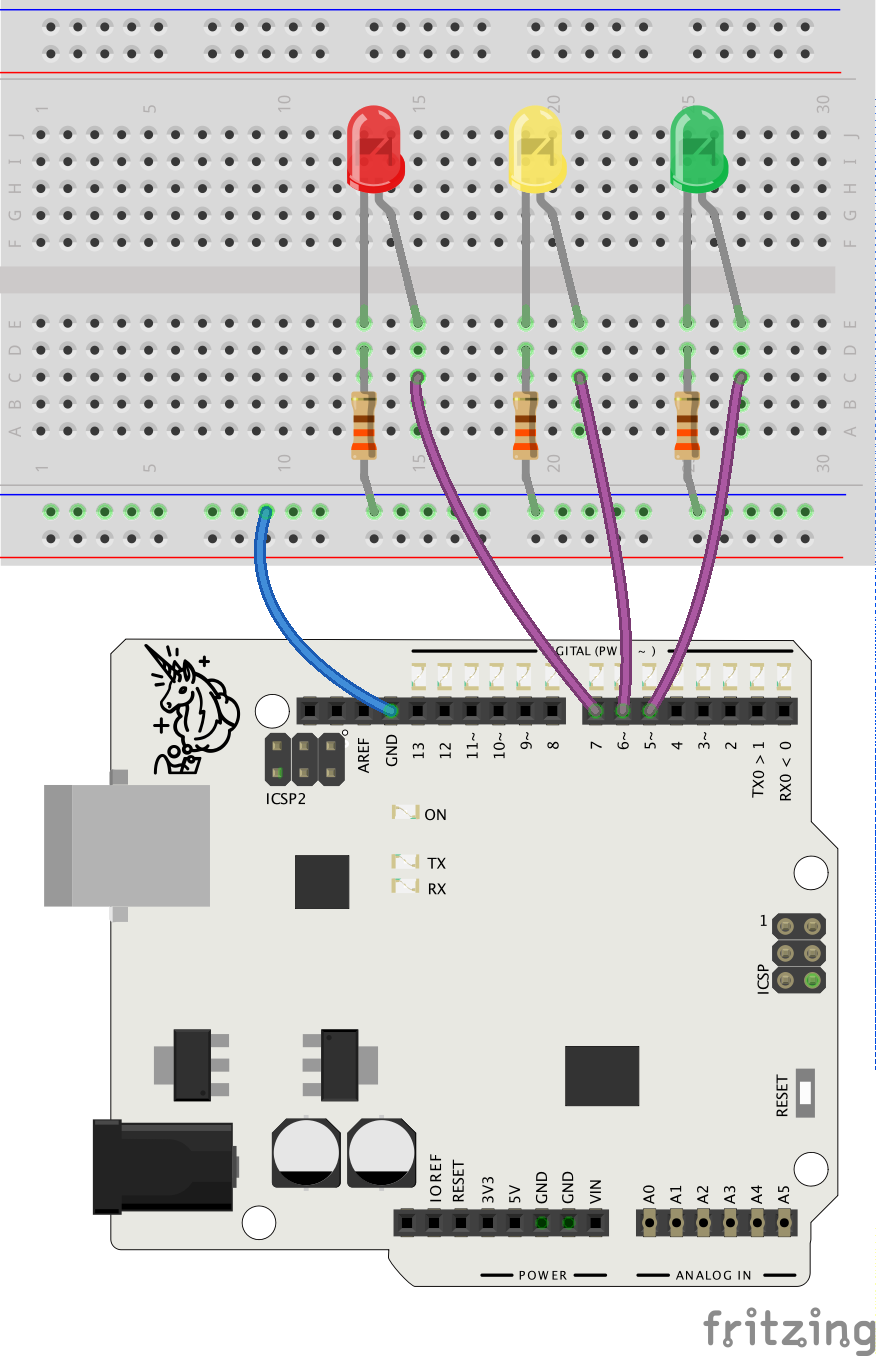
Connect the longer legs of the LEDs to pins 5, 6, and 7.

Connect the shorter legs of the LEDs through a 330-ohm resistor to ground (GND).


Programming

Transcript

You know everything you need to know to program these traffic lights already. But just in case, I'll give you a few hints to get your coding. When you have to control three LEDs that are all connected to different pins, you have to make sure your board knows which LED it's supposed to turn on and when. First you have to tell the board which pins are connected. This is done in the setup part. You have to write a pinMode command for everything you are using. I'll also use comments to remind myself which LED is connected to which pin. Yellow... and the last one is red. When you want to turn those pins on and off you will have to use the pin number in your commands. Like this: digitalWrite 7 I know this program is not ready yet but I'll upload it to test that the LEDs work. Upload the code to the board often so you'll quickly see if there's a problem somewhere. Ok, the red one is not on so I'll try to turn it the other way round. And that fixed it. Finally, you'll use the delay comment to time how the lights turn on and off. Let's see. Start with the green one. And I'll put delay 2 seconds - and I think then it should turn off. You h ave to write LOW to turn a pin off. And the n - let's try delay one second, 1000 milliseconds. And even if it's not finished I'll upload it to see what's happening now. You'll probably have to use quite a lot of delay commands to make this work. Okay, getting there! When you make changes in your program upload it to the board as often as possible. It's faster to make it right by testing it often, instead of trying to write the perfect code at one go. Try to make those lights as convincing as possible, so think about the time each light is on, which lights are on at the same time and so forth. Good luck with the exercise!

Do this

Write the example code from below to Arduino IDE. Start adding new commands to make the traffic lights work.

  • Upload the code to your board after you have written a new line or two - testing your code often is a good idea!
  • Use comments to remind yourself which colors are connected to each pin.
  • Use the pin numbers 5, 6 and 7 with digitalWrite commands to turn the LEDs on and off
  • Use delay command to time the traffic lights
  • Code your traffic lights to turn on and off just like real ones would!
void setup() {
pinMode(5, OUTPUT); // green
// set the other two pins as outputs, too! 
} 
void loop() { 
digitalWrite(5, HIGH); // green light on 
delay(2000);
digitalWrite(5, LOW); // green light off 
// continue the program to control the other lights, too 
} 

Educator notes

As the students learn more, they may continue the traffic lights project by making it react to nearing vehicles or pedestrians using e.g. distance sensors and pressure or reed switches.

If some of the students do not complete this exercise but want to connect and control multiple LEDs later on, refer to this exercise as a source of useful information.


If the students need help with their code, it is a good practice to first encourage to solve the problem by themselves. Try asking questions and troubleshooting collaboratively.

Questions:

  • Have you checked the console - are there error messages when you upload the code? What do the messages say?
  • Have you checked you circuit, could there be bad connection there?
  • Can you describe what you were trying to do? Describe the problem in as much detail as you can! (Often a problem gets solved just by explaining it to another person - a classmate or the teacher!)
  • Do you remember an earlier task or exercise where you learned about the part you're struggling with? Have you tried looking at those earlier examples?
  • Has anyone else in the classroom run into the same problem? Could they explain how they solved it? (Peer learning is a powerful experience both for the one who's instructing - the person who already managed to solve the problem on their own -  and the one who's receiving instructions. More powerful than simply hearing the right answer from the teacher!)

If none of these tips are successful, look at the student's code and try to troubleshoot together with them. Show parts of the ready-made code as the last means.

NOTE: the students' code may look a bit different - the timing of the traffic lights, whether the lights start from red or green... In this example, red and yellow are lit at the same time when the light is about to turn green - as it is the case with real traffic lights. When you assess a submission, it may be enough to mention this functionality in your feedback if it's missing from a student's code.

Example Code

    void setup() {
      pinMode(5, OUTPUT);
      pinMode(6, OUTPUT);
      pinMode(7, OUTPUT);
    }

    void loop() {
      digitalWrite(5, HIGH);
      delay(4000);
      digitalWrite(5, LOW);
      digitalWrite(6, HIGH);
      delay(2000); 
      digitalWrite(6, LOW);
      digitalWrite(7, HIGH);
      delay(4000);
      digitalWrite(6, HIGH);
      delay(2000);
      digitalWrite(7, LOW);
      digitalWrite(6, LOW);
    }