Transcript
To turn stuff like LEDs on and off you
don't really need to program anything. Just get electricity somewhere and use a
switch: on, off. But what if you want to keep the light blinking, dim it,
make some random light show... or what if you want to control a number of LEDs,
each in a different way? You could design and make a really cool electrical
circuit to do that, but you would have to know quite a lot about electronics. But
hey, there is also an easier way - programming! The great thing about
Arduino is that you can program the device to do all those things to LEDs.
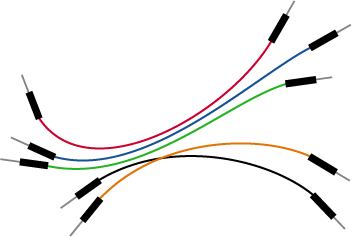
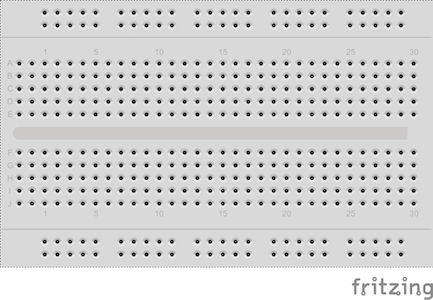
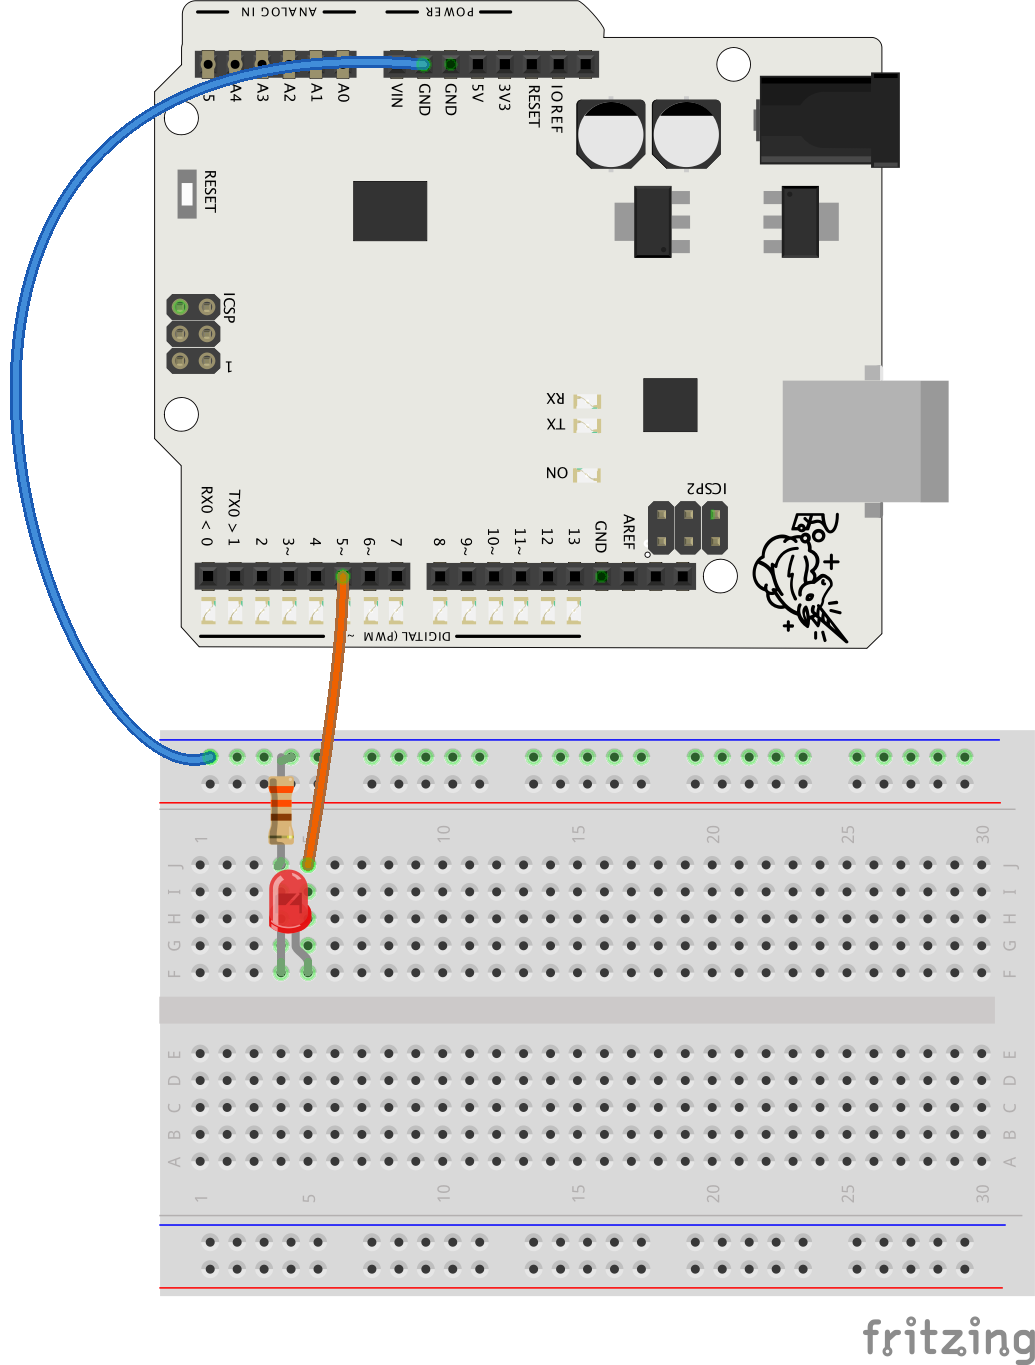
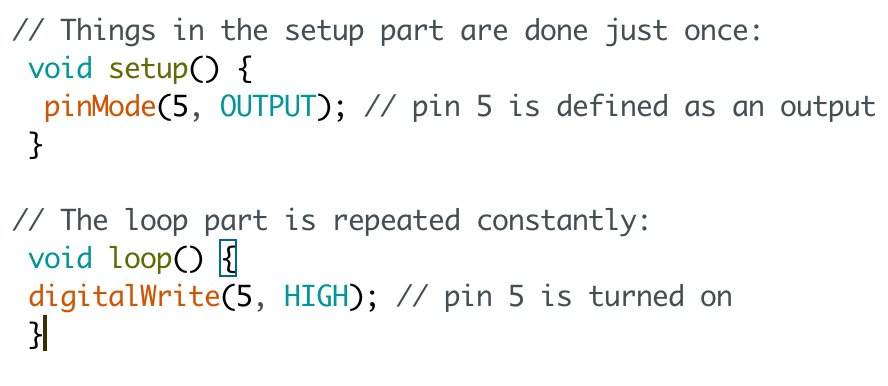
With Arduino you can make a very simple circuit and write a program that's
usually really short to get the light show you want. You'll need to connect
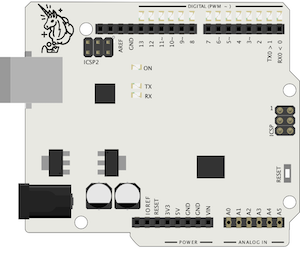
your LEDs to certain pins: these ones here that you can turn on and off by
programming. You will also connect buttons and other switches to these same
pins later on. So first you need to make a circuit, then you write a computer
program which describes in detail everything that is supposed to happen.
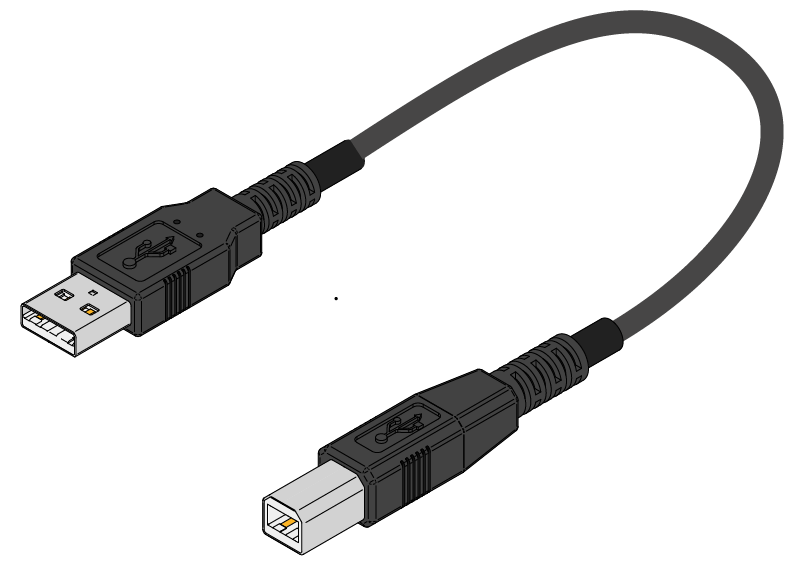
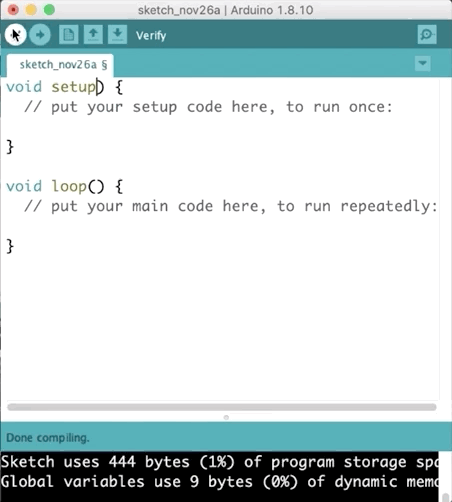
After that you connect the board to the computer and upload the program. Voilá!
Stuff happens! And if stuff doesn't happen, well, don't worry.
It's nothing unusual. Then you just find out what's wrong with a circuit or the
program and you fix it. Let's get started then!