Pointillism and Pictures
An Image from a File
Let’s start by choosing a picture that we want to edit in our program. If you don’t have a photo that you’ve taken by yourself to use, you can google something you’d like to use. Be sure to use the search tool to funnel in only photos you may use and edit freely. You can specify this in Google’s Advanced Search. For example this photo of a kitten works well in this case:
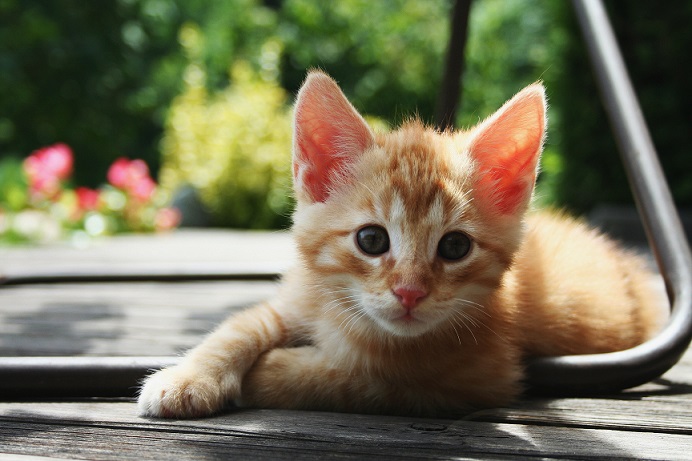
Picture: Mathias Erhart
Create a new sketch and save it. Then save the photo you’re going to use in the sketch’s folder. All your sketches will be in sketchbook, and you can check it’s location from File > Preferences > Sketchbook location.
// In Processing we edit photos as PImage-class objects
PImage img;

void setup(){
  size(350, 240);   // the size of the frame is approximately the size of the photo

// load using the loadImage-method the file kitten.jpg
// and place the photo in the object
  img = loadImage("kitten.jpg");
}

void draw(){

// the picture will be drawn by calling the image-method
// and by giving it the parameters
// img-object, the place of the photo, width and height
  image(img, 0, 0, width, height);
}
Methods of photo editing
In Processing, there are a few handy methods for photo editing:
Coloring the photo and opacity.
Blending two photos, different methods. You can also combine a photo with e.g. a square at the back of the photo, which means you’ll sort of have the tint-method and many modes to your use.
Different filters for photos. You can also make them yourself! Instructions in the Images and pixels -tutorial.
Remember that you can always use 2D transformations, even with photos.
Arrays
You can also edit a photo a pixel at a time. The image is saved into a array, where each element in the spreadsheet represents one pixel. Let’s get to know spreadsheets a bit now - they come in handy also elsewhere thank just in photo editing. You could for example save a hundred different mouse positions and then repeat the form they made when called. It’s helpful to look over the Processing.org tutorial on arrays.
// we create a new table of int-type elements
// we need to give the table some size: here it is 6
int[] array = new int[6];
Now we have a six element, empty table. We’ll use the int-table, where you can only save whole numbers. Also other types of tables or spreadsheets can be made (String, boolean, float..).

The picture above shows us that the numbers start from zero and not one. That’s why a six-figure table ends at five.
Let’s add elements as follows:

numbers[0] = 20;
numbers[1] = 100;
numbers[4] = -2
Below a few examples on how you can read elements from the array.
int variable = array[0];                // sets the variable value 20
ellipse(array[1], array[1], 20, 20); // draws an ellipse to the place (100, 100)
array[4] = array[4]*array[0];     // sets the value -2*20 = -40
                                           // at the place [4]
Notice that when calling a number or element that has not been set or does not exist in the array, the program will crash.
int variable = array[2]; // NullPointer exception: no value assigned to this element
array[7] = 100;          // ArrayIndexOutOfBoundsException:
                            // this element is outside the array
ArrayList
In photo editing we rely on arrays, but in many other cases it’s useful to use a slightly more sophisticated data form called ArrayList. The difference between Array and ArrayList is that the ArrayList will automatically grow when elements are added to it. The Indexes (which elements have figures and which do not, what’s the length of the array..) are things you don’t need to worry about here.
In photo editing and other cases where you have a large number of elements to process, Arrays are preferred because they are slightly faster than ArrayList. Arraylist uses methods, like for example add, get and remove to process elements. The method descriptions are HERE.
More on ArrayList also in our course materials under “[Particles](CHECK IF!!)".
A photo in pixels
A photo is made up of pixels.
You'll find the frame's pictures in the array pixels[]. This array
represents all the pixels in the frame on each draw-round. The array
won't care if the picture is made of circles or a photo or how it's
been made. Each pixel has a color value, so that we can determine not
only the color, but also the brightness and compare it to other
pixels. 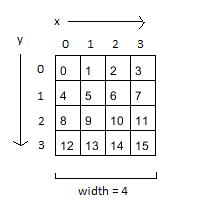
The image above shows how the pixels in the array place on the screen. There's a more elaborate explanation in the Images and pixels -tutorial. At this stage it's worth noting that a pixel at (x,y) is in the array at x + (y * width). So for example a pixel at (3,2) will be in the array at 3 * (2 * 4) = [11]. Keep in mind that indexing begins at zero.
void setup(){
  size(500, 500);
}

void draw(){

// call the method loadPixels, so we can edit the image on pixel scale
  loadPixels();
  for (int i = 0; i < pixels.length; i++){  // go through all the pixels of the photo
// here we can do anything to the pixels!
    pixels[i] = color(random(255));
  }

  updatePixels();   // update the pixels into the frame
}
Noise and Remainder
In the example below only every third pixel is random. If the remainder of i/3 is a whole number (meaning the remainder i/3 is zero), a random grey shade between 0 and 255 will be assigned.
Pointillism
Pointillism is a painting technique developed in 1886, where the picture is made up of small points instead of brush strokes, creating an illusion of a whole picture.. a little like a computer screens pixels work!
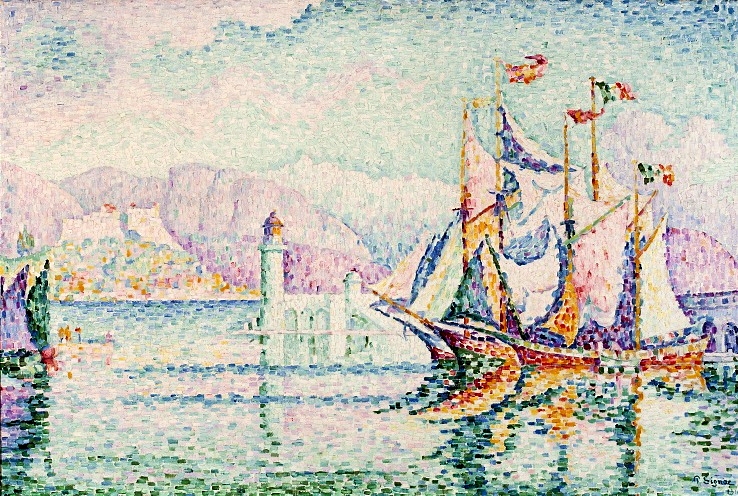
Paul Signac: Antibes - Matin, 1914
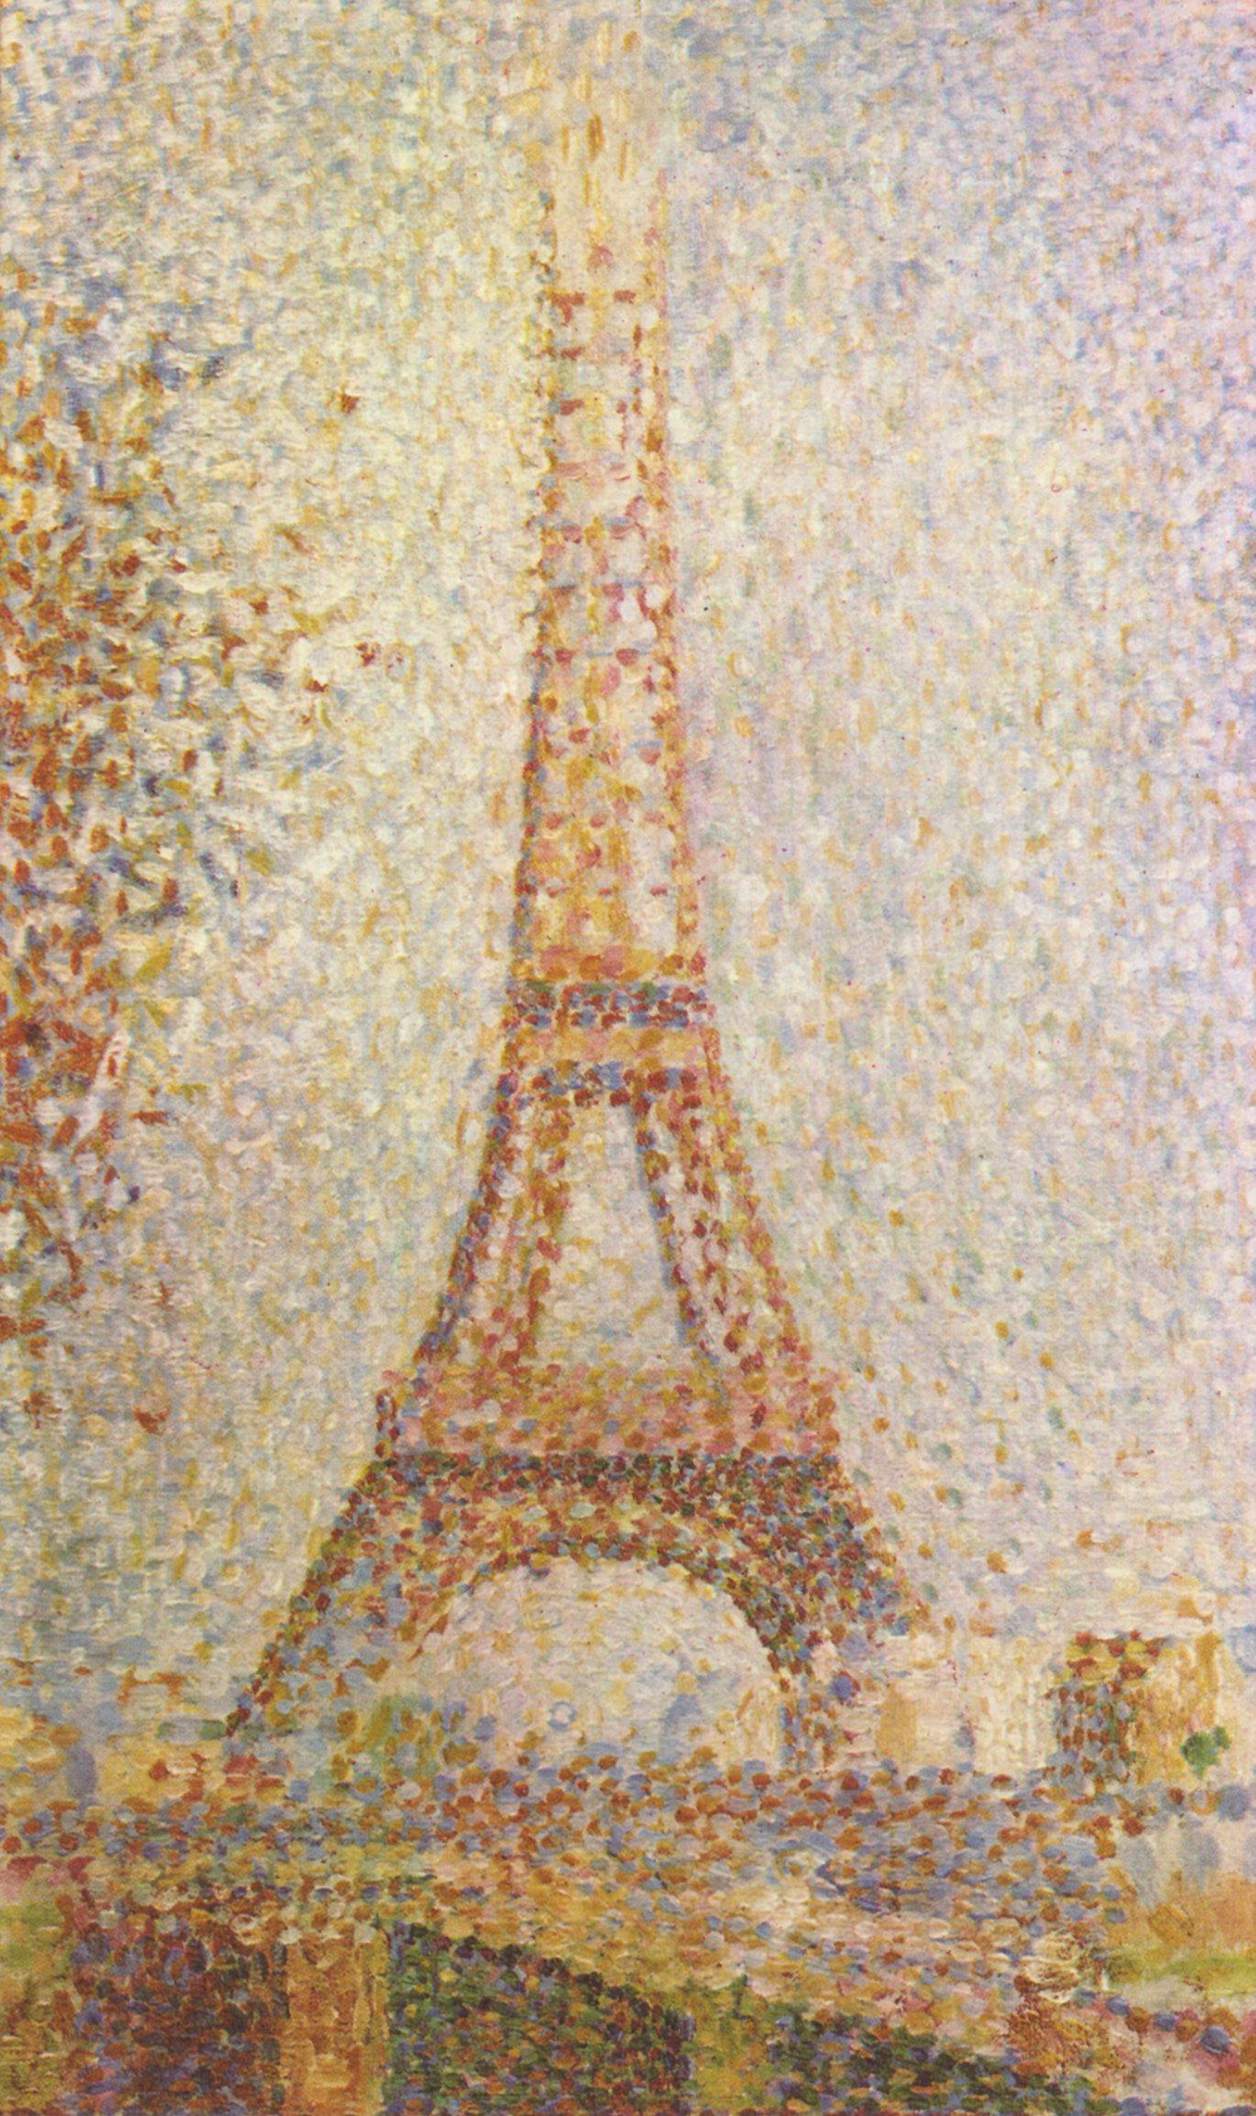
Georges Seurat: Tour D’Eiffel, c. 1889
Let’s get to making our pointillistic masterpiece of art by using the same picture as before.
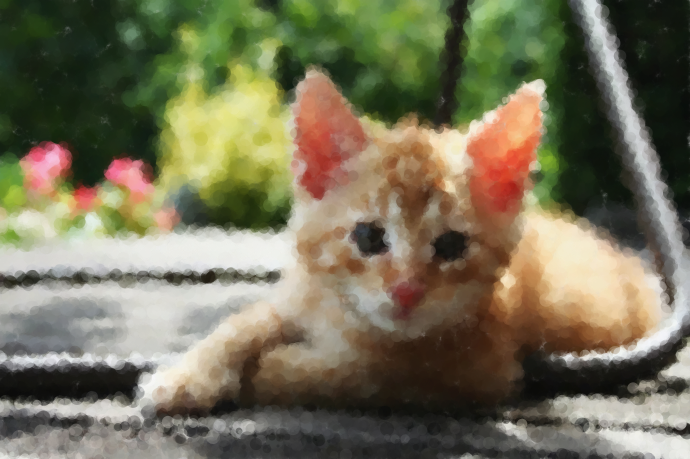
Example: your pointillism masterpiece!
Let’s start by loading your preferred image to the variable img. This time, we won’t use the image-method to show the photo, and instead we’ll edit the photos (not the frames!) pixels-array and make up the photo in a new way.
PImage img;

void setup(){
  size(692, 461);
  img = loadImage("kitten.jpg");
}

void draw(){

}
Let’s start by binging up one photo of the pixels at each draw time. You can do this by randomly selecting the x and y coordinates from the photo, by counting the pixels place in the array and by aquiring the info of the point’s red green and blue values from the pixels-array.
PImage img;

void setup(){
  size(692, 461);
  img = loadImage("kitten.jpg");
}

void draw(){
// the random method returns a float-type of number
// use the int-method to make it a whole number
  int x = int(random(img.width));
  int y = int(random(img.height));
// count the pixels (x, y) coordinates in the pixels-array
  int index = x+(y*img.width);

// // retrieve the pixels color values one by one from the pixels-array
//  by using the red-, green- and blue methods we can give
// float-like variables each colors amount
  float red = red(img.pixels[index]);
  float green = green(img.pixels[index]);
  float blue = blue(img.pixels[index]);

// place the values gotten from the array as fill values
  fill(red, green, blue);
// draw an ellipse to (x, y)
  ellipse(x, y, 20, 20);
}
Getting the point? Let’s make some subtle changes still to make our work of art look even more magnificent.
PImage img;

void setup(){
  size(692, 461);
  img = loadImage("kitten.jpg");
  noStroke();   // remove borders of the ellipse
}

void draw(){

// place all code within the for-loop
// now every draw time will give a random 100 ellipses

  for (int i = 0; i < 100; i++){
    int x = int(random(img.width));
    int y = int(random(img.height));
    int index = x+(y*img.width);


    float red = red(img.pixels[index]);
    float green = green(img.pixels[index]);
    float blue = blue(img.pixels[index]);

    float size = random(15);   // randomize ellipse size
    fill(red, green, blue, 100);  // add opacity
    ellipse(x, y, size, size);
  }
}
Now our work of art looks a bit more sophisticated! You can play around with the parameters and other code. What will the kitty look like, if instead of ellipses we’d draw lines, crosses or squares?
