Random Movement

Educator notes

Educator Notes

Transcript

Hi! I'm Sanna from Mehackit. You might sometimes wonder why you'd ever want to program sketches or visuals when hand drawing is so much faster. Well if it's only just one simple sketch you need programming might not be the most convenient tool. if you want to draw only a couple of lines like this... Programming feels a bit clumsy. But if you want to draw thousands of lines with random bluish colors and demonstrate the surface of an ocean with them... Programming starts to sound like a good alternative! Programming is an efficient tool when you need to repeat things fast and process large amounts of data. In this chapter students learn to mix random and continuous movement to create landscapes and illustrate movement in outer space. In the beginning two important concepts are introduced: the setup and draw-method. When you run a program the computer executes the setup once and then it loops the draw-method endlessly. That means that all the moving and changing parts should be inside the draw-method. All programs are built on these two methods in the future so I suggest you make sure all the students have a good understanding of these methods. First we'll draw things that change over time using the random -command. Most of the visual phenomena in the natural world are not totally deterministic or linear, like imagine how snow falls from the sky. It's often the random-factor that makes the movement interesting so that's a good starting point. After random movement students practice using variables and if-structures to make more controlled movement like a ball rolling across the floor. Variables are used to keep track of the location of the ball and the if-structure checks whether the ball has reached an edge and has to bounce back. These concepts are important but beginners need to practice them to really understand and to use them well. Programming-wise this chapter is a bit more challenging than the first one so remind the students to really concentrate on the multiple choice and programming tasks. The final exercise of this chapter is called Space Exploration. As in the previous chapter, students are encouraged to check out what others have made on the Open Processing website and to add their own projects there too. This is not mandatory however and the most important thing is to use the new programming concepts and visual imagination to make something cool and personal.

Length of the chapter: 1,5 - 3h

  • Adjust the length of the chapter according to the time you have at hand.
  • There are more detailed lesson plans on the next page.

Learning objectives:

Students learn…

  • … to use random-command to locate shapes in specific areas.
  • … to pick ranges of colors to create a certain atmosphere.
  • … to use random-command creatively to illustrate movement in the world around us.
  • … to experiment open-mindedly while programming - it’s not always necessary to know the exact result beforehand!
  • … to use integer-variables to create continuous movement.
  • … to create objects that reappear on the canvas after crossing the edges.
  • … to create objects that bounce from the edges of the canvas.
  • … to use different kinds of moving objects in the Space Exploration -exercise in the end of this chapter.

You can use the slides below to introduce the second chapter to the students. See also the lesson plans below the slides!


Plan 1 - Structured Lessons (110-150 min)

Time to completeActivity
10 minSCRUM routine: Students explain to others: 1) what was the last thing they did on the previous lesson and 2) if they had any challenges they need help with. If students are shy to speak when others are listening, you can go and talk with them individually later on.

It doesn't matter if some students are still doing the tasks of the first chapter. You can help those students after introducing the second chapter to everyone.
15 minIntroduce the second chapter with the slides above.
25-45 minStudents start the second chapter alone or in pairs and go through the topics Random Movement and Fast and Furious objects. Ask students to speak out if they have any challenges.

Go around in the classroom while the students are working and discuss briefly with each student. Talk especially with those who have had challenges or seem to lack motivation. Make sure that every student has some kind of meaningful goal for this lesson.
10 minAsk the students if they have had any challenges so far.

If needed, draw a coordinate system on a whiteboard and explain, what happens if you locate a shape with a random-command or by using a variable that increases.

Discussion: Ask students to give examples of what to express with randomized locations? What about continuous movement?
20-40 minStudents continue with the material and go through the topic What if? Ask students to speak out if they have challenges.
15 minReflection discussion: What has been most interesting? Do you have ideas of what to express with the new programming tools?

Introduction to the Space Exploration -exercise
- Show an example result from Open Processing or show something you have coded yourself
- Give a time-limit: 30 minutes!
30 min

Students develop their own Space Exploration and submit the code.

5 min

You can end the lesson (or start the next lesson) by going through a couple of Space Explorations the students have made, if they are willing to show them.


Plan 2 - Freely flowing lessons (110-150 min)

Time to completeActivity
10 min

SCRUM routine: Students explain to others: 1) what was the last thing they did on the previous lesson and 2) if they had any challenges they need help with. If students are shy to speak when others are listening, you can go and talk with them individually later on.It doesn't matter if some students are still completing the tasks of the first chapter. You can help those students after introducing the second chapter to everyone.

5 min

Set a goal for the second (and third) lesson: complete the second chapter. Show the Space Exploration -exercise of the chapter to the students with a projector.

Ask the students to start from the topic Random Movement and then continue forward. Ask the students to speak out if they have a any questions.

50-90 min

Go around in the classroom while the students are working and discuss briefly with each student. Talk especially with those who have had challenges or seem to lack motivation. Make sure that every student has some kind of meaningful goal for this lesson.

If you feel that students have trouble understanding variables or if-statements, explain them to everyone together. Check the Educator Notes for more teaching tips related to these topics.

10 min

Reflection discussion: What has been most interesting? Do you have ideas of what to express with the new programming tools?

Introduce the Space Exploration -exercise. If some students have started or completed it already, it doesn't matter.
- Show an example result from Open Processing or show something you have coded yourself.
- Give a time-limit: 30 minutes!

30 min

Students develop their own Space Exploration and submit the code.

5 min

You can end the lesson (or start the next lesson) by going through a couple of Space Explorations the students have made, if they are willing to show them.


Repetition is the Key

Transcript

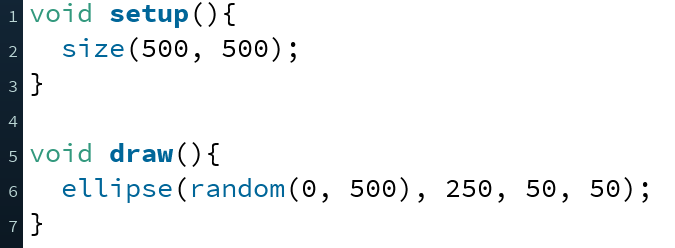
Hi, I'm Sanna from Mehackit! Until now you've just drawn static things that stay still on the screen. After all that might be a little bit boring. So how can you make those shapes alive? You'll need to draw a shape to one place, wait a short while, then draw it somewhere else, wait a short while, then somewhere else again over and over. In other words you would need to repeat commands. Let's see how to do this. You need two new structures: the setup and draw-methods. From now on these two form the basis for all your programs. The computer executes the commands in the setup-method only once but repeats the draw-method forever. Notice these curly brackets. All commands between these two belong to the setup and between these two others to the draw method. The text void here only means that this method doesn't return a value. We'll get back to that later on. Let's see how the setup- and draw-methods work. I'll add the familiar size command to the setup-method because we want to set the size of the canvas only once. I'll add the command ellipse to the draw method. Let's run the program now. The computer now sets the size of the canvas first and then draws the ellipse over and over again but you don't see any movement or many many ellipses because the computer draws the ellipse to the same spot every time. Okay, are you ready to move things around? We need only one new command to make the visuals alive and to change over time. The command random tells the computer to pick a random number. Think about the possibilities! Every time the computer repeats the draw-method we can take a new random value and use that as the location of a shape. Let's replace the x-coordinate of the ellipse with a random value between 0 and 500. I'll type here "random(0, 500)" and run the program. There it is! Now the ellipse gets a new random x-coordinate each time the computer draws it. The number 0 is the lower limit of the value and 500 the upper limit. That was just one random-command and it already made things move. Now it's your turn to add some randomness to your piece of art.

Do this

Write the example below to Processing IDE and test it.


Which of the following statements is true?
If I want to change the location of a shape as the program proceeds, I have to do this...
What does the command random(0, 500) do?

Educator notes

It’s important to understand that the computer executes the draw-method on loop, repeating it over and over again. When the computer has executed the last command of the draw-method, it returns back to the starting point. You can demonstrate this to everyone together by showing the draw-method and going through the commands written one by one.

If your students have done programming before, they might be used to writing the actual program inside a loop-method. You can tell them that draw-method has the same function as the loop in other programming languages.

Some students may want to know how fast the computer can execute the draw-method. While the default value is 60 frames per second, the speed can be changed with the frameRate-command which we will introduce later. This can be used to create different effects: if shapes appear on the canvas slower, it will create a totally different atmosphere. The maximum framerate depends on the hardware and the complexity of the program, but should be somewhere between 100 and 1000 frames per second (fps). Note, that your monitor can only draw frames as fast as its refresh rate!


Random, Random Everywhere

Transcript

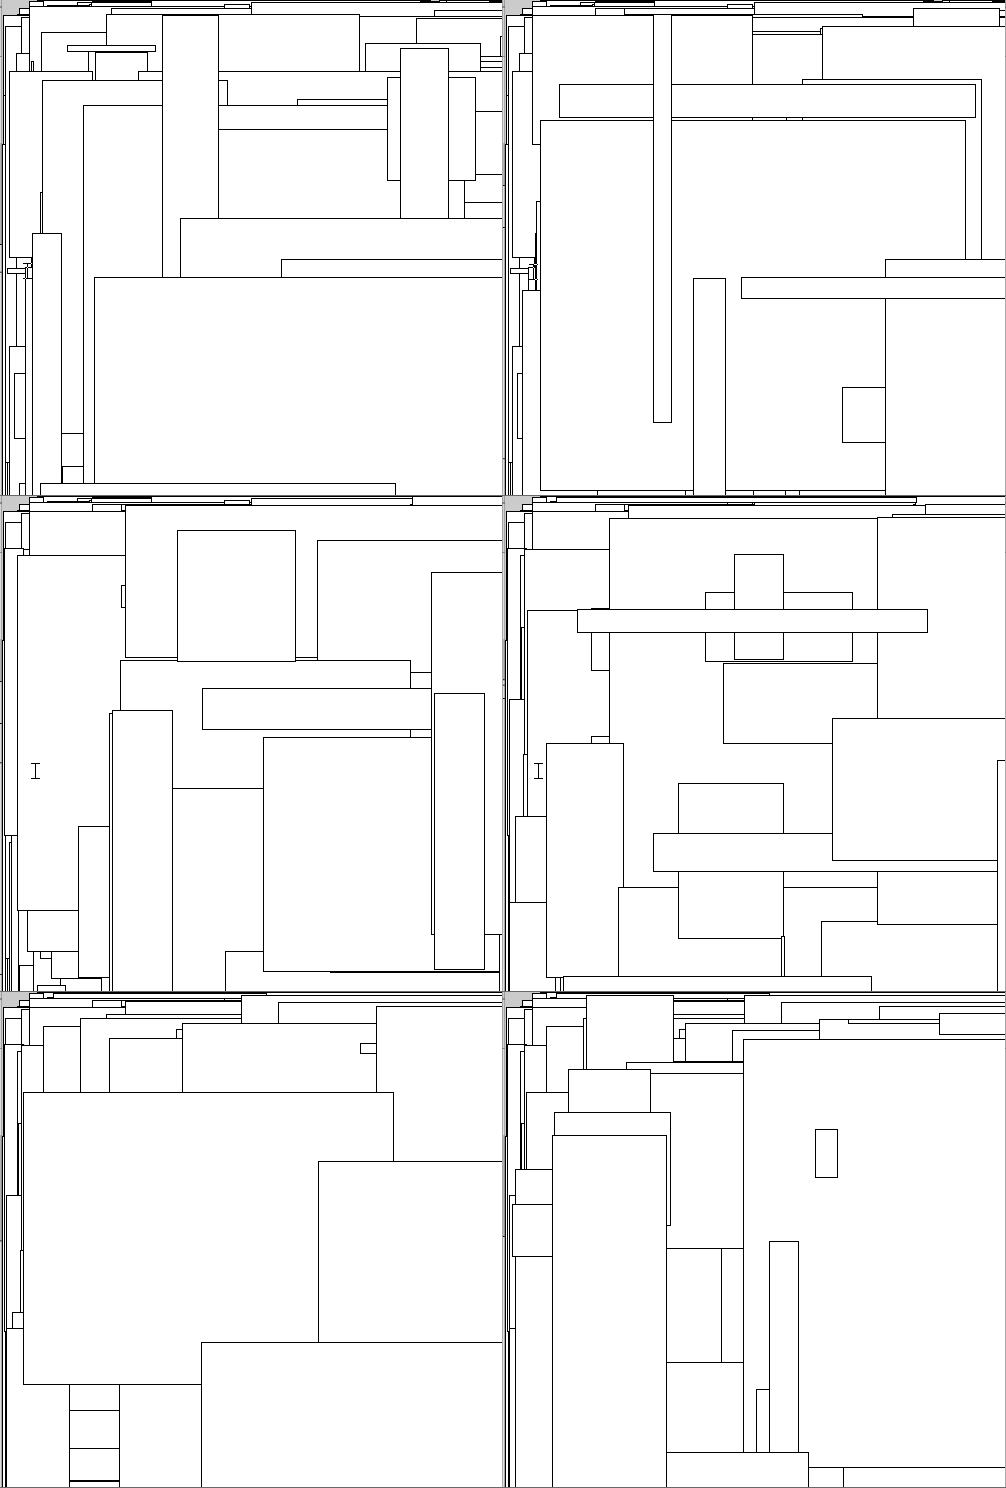
Previously we used a random number as the x-coordinate of an ellipse. Now you can add even more randomness to your creations. Let's continue with another shape, a rectangle for a change. Remember that the rectangle method has four parameters: x-location, y-location, width and height. First I want to draw a rectangle to the center of my canvas. I'll press run. The rectangle isn't in the precise center of the canvas. Remember: the x- and y-coordinates define the upper-left corner of the rectangle. As you can see, that corner is in the center. But let's add some more randomness. I'll replace the x-coordinate with random... let's see... random(0, 500). It looks like this. Alright. Then I also replace the y-coordinate with the same command. Now it seems like the rectangles are getting closer and closer. It almost looks like 3D-graphics. Let's change the upper limit of the x-coordinate to 250. Now the shapes only appear on the left side of the canvas. If I change the lower limit of the y-coordinate to 250, the shapes only appear in the lower left corner of the canvas. Fun fact: If it give the random command only one parameter it is the upper limit of the random value and the lower value is automatically set to 0. Sometimes the number of parameters for a command isn't fixed and you can decide how many you use. For example the random command works with either one or two parameters. Random 500 gives you a value between 0 and 500. Now both the x- coordinates and the y-coordinates are between those values. Whoa if you're getting dizzy, take a deep breath before we continue. We are just getting started with making animations. you

Do this

Copy the program developed in the video from below and test it. 


void setup(){
  size(500, 500);
}

void draw(){
  // Make width and height of the rectangles random too.
  rect(random(0, 500), random(0, 500), 100, 100);
}

Make an addition so that the width and height of the rectangle are random values as well. That means there should be four random-commands inside the rect-command. 

The result should look like the animation below. If you have difficulties, ask your teacher for help!


Educator notes

Remind the students that you locate an ellipse by using the coordinate-point of the center and a rectangle by using the coordinate-point of the top-left corner.

Autumn Vibes

Transcript

Hi, let's color the previous example up! The coordinates of the rectangle are now random values between 0 and 500. The width and height are always 100. I'll add the fill-command to the start to make the rectangles colorful. Remember we're using the RGB-colors here. The first argument is the amount of red in the color, second one is the amount of green and the third one is blue. I'll add just some values and let's see the result. I put here 200, 50 and 50, and run. Alright. And what if I wanted to draw the rectangles with different colors? The random-command you used earlier works as a color value as well. I'll replace the first value which is red with a random 250, 255 by the way. Alright. The result is maybe a little bit aggressive to my taste. The red component is between 0 and 255 which means that both the extremes are included in the range. If the color is close to 0 rectangle is nearly black and if it's close to 255 the rectangle is bright red. I'd like to make the colors a little bit softer, maybe something like the colors of the leaves in autumn. That would be a combination of brown green yellow and red. Let's try it out! I'll show you a nice tool for choosing colors in Processing. Choose Tools and then Color selector. By dragging the mouse here you can choose the right range of colors. Now that looks pretty much like autumn. Then by dragging the mouse over here you can choose the exact color and see the RGB components of that color. As you can see the red component is quite big in all of these autumn colors and the green is somewhere between 100 and 200 and the blue is always below 100. I'll add those kinds of ranges to change the filling color. Now it already looks more like autumn. As a final touch here's one new thing about coloring stuff in Processing. You can add a fourth value inside the fill-command to determine the transparency of the color. If you put it to 0 the colors are totally transparent so there's actually no filling color at all. If you choose 255, the color is not transparent. So what about 125? Let's see. You can now see the earlier rectangles behind the new ones. That's because the shapes are slightly transparent.

Do this

Copy the code in the video from below and run it.

Change the colors in the fill-command and the size of the rectangles.

Think of some theme other than the autumn! For example waves of the sea, snowflakes, flowers, rainstorm, colony of ants, busy people in a city...

Give your creation a name and save it to your computer  (File > Save as).


// Autumn Vibes
void setup(){
  size(500, 500);
}

void draw(){
  // Change the color-ranges. The Color Selector helps! (Tools > Color Selector).
  // Change the transparency of the color (fourth parameter) too.
  fill(random(200, 255), random(100, 200), random(100), 125);
  // Change the size of the rectangles or replace them with another shape.
  rect(random(500), random(500), 100, 100);
}

Where you can find the Color Selector in Processing IDE?
What is the amount of red in this fill-command? fill(random(200, 255), 50, 150, 100);

Educator notes

Encourage the learners to experiment with the autumn vibes-project in the video and make it their own. You can totally change the theme and mood of the project just by changing colors and the size of the shapes. Students can also use other shapes instead of rectangles: for example, ellipses, rectangles and lines will create very different atmospheres. Triangles are a bit more tricky to use because every corner is located separately. But students will find their way by experimenting!

If you determine a filling color or color of the stroke with four parameters, the fourth one will determine the opacity of the color. 0 creates a totally transparent color (0 % opacity) and 255 a color with 100 % opacity.

Activity: If you’re familiar with different color theories, this can be a good point in the course to explain and experiment with them in different combinations. What color-ranges look good on the canvas together and why?


Speed of Light


Do this

Copy the code below and run it in Processing IDE.

// Speed of Light

void setup(){
    size(500, 500);
}

void draw(){
    line(250, 250, 0, random(500));
    line(250, 250, random(500), 0);
    // Add a third line-command here
    // Add a fourth line-command here
} 

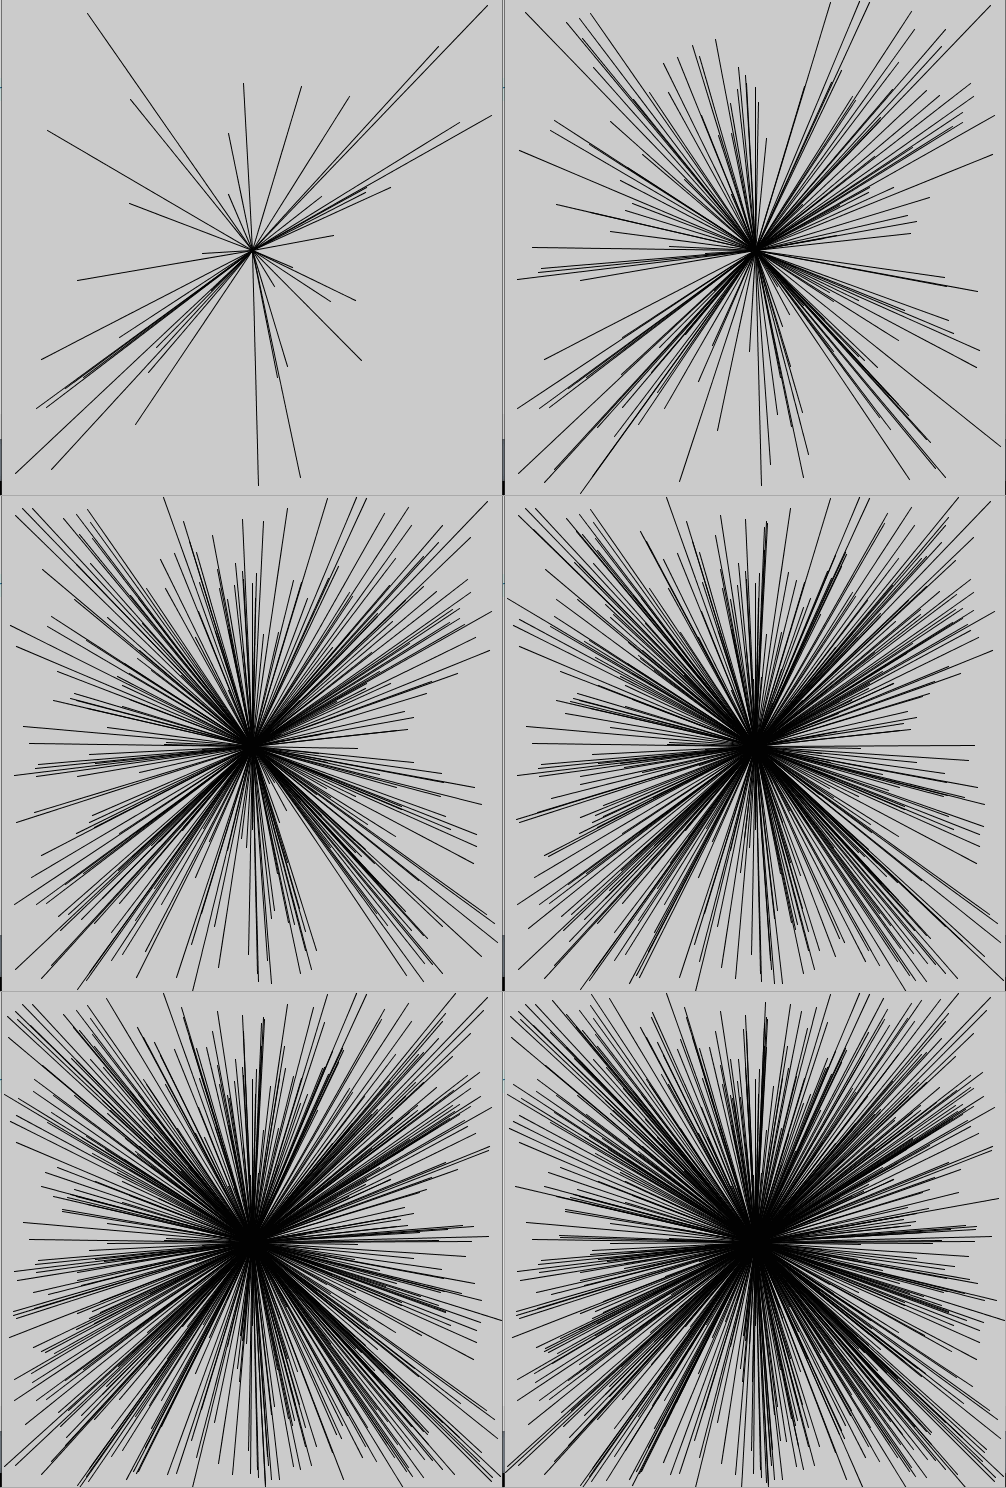
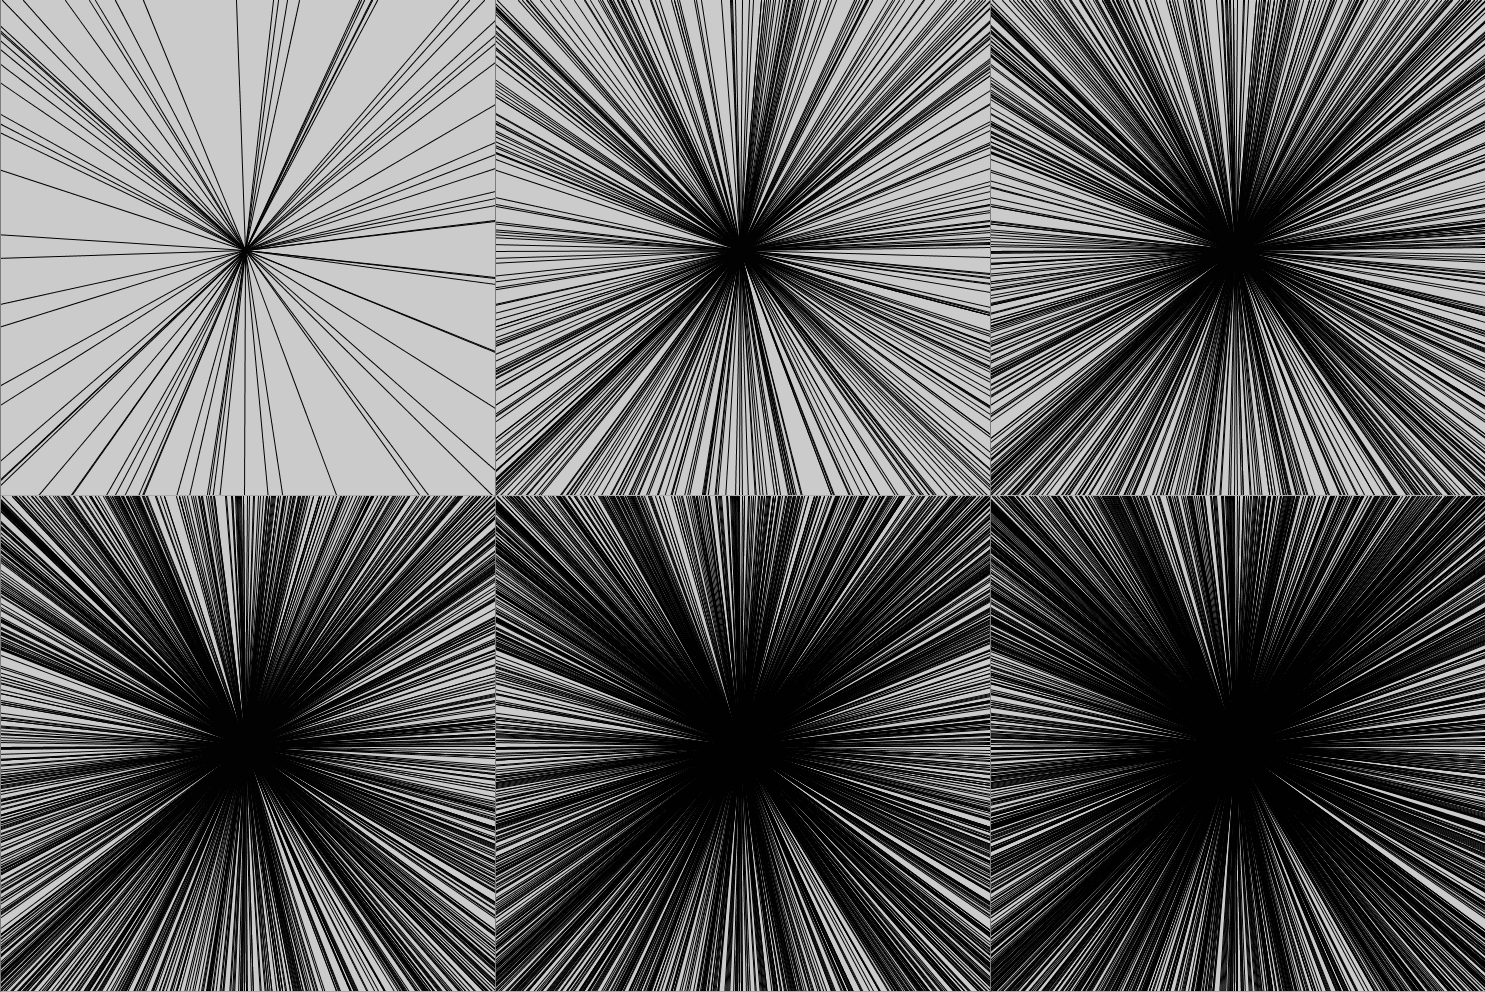
Replace the two commented lines with two new line-commands and try to produce the result below on the right. If you have difficulties, ask your teacher for help!

On the left, you can see the example completed in the video.


Educator notes

Lines are perfect for a variety of simplistic but impressive illustrations. Remember that you can change the weight of the lines with the strokeWeight-command. You can use a random-value inside that command too.

Activity: Ask students to give examples of phenomena that can be illustrated with regular shapes and a random-command. Think together of how to draw them in Processing.